|
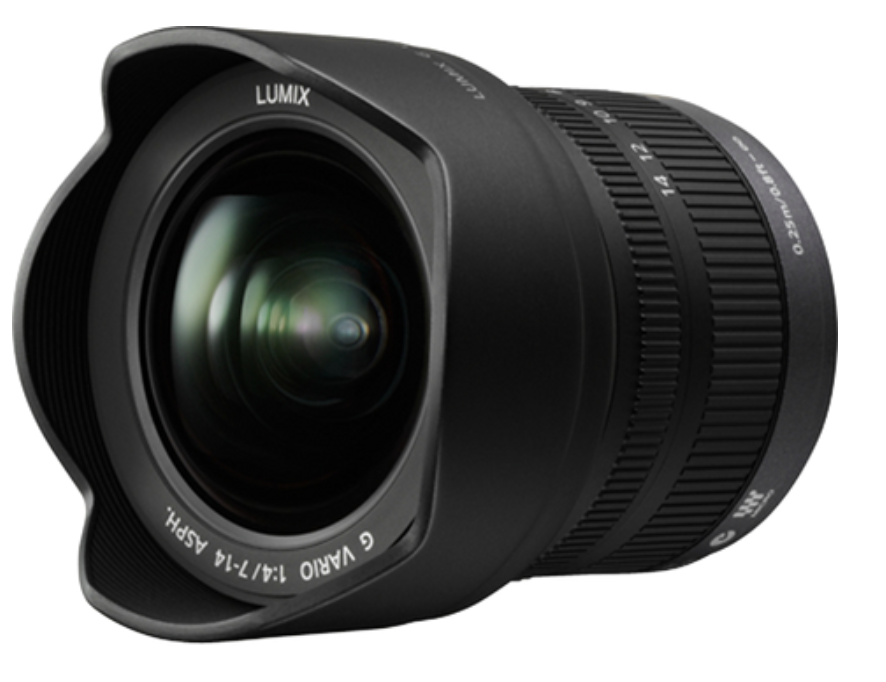
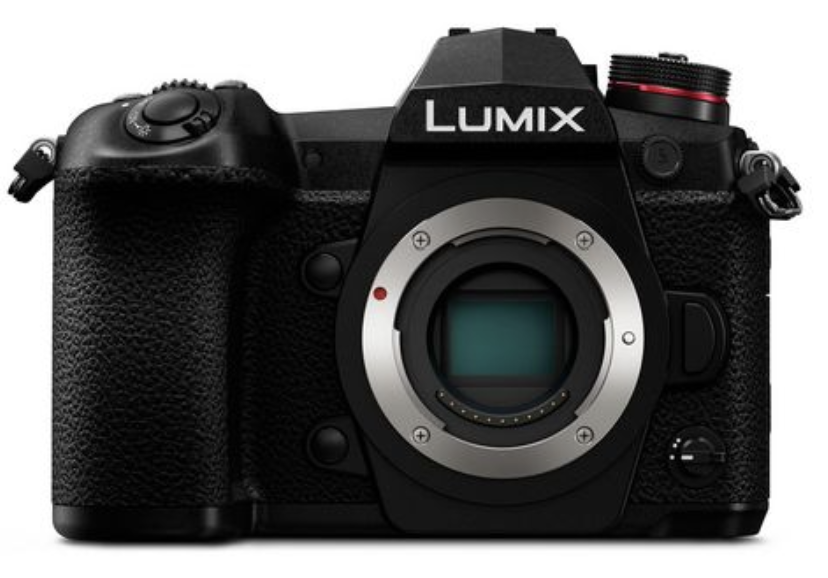
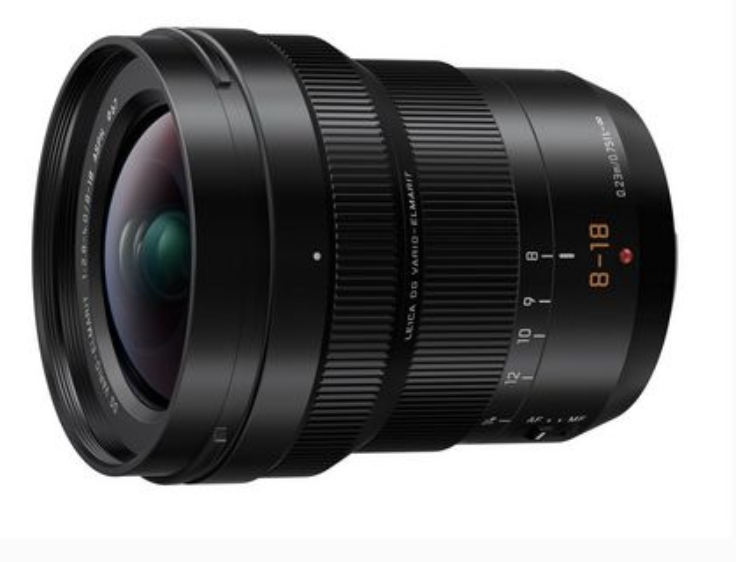
Intro by Skip Cohen Since launching in 2016, we've shared thousands of posts here on the SCU blog, with information on virtually every type of idea to help you build a stronger business. Well, as we get more into 2019, we're going to be sharing more technique posts to help you not only develop a stronger and more successful business but raise the bar on your skill set. I love this post we're sharing today, thanks to Suzette Allen. While it might seem like a lesson in outdoor landscape photography, learning to work with slow shutter speeds is a skill applicable to so many different images you capture, including photographing a wedding and children playing, to name a couple. Roday is "Mirrorless Monday," and Suzette is out with with a LUMIX G9 and two different lenses. More information about each one is linked in the thumbnails below.
Suzette has several different blogs, all filled with great content on technique, new ideas and often providing inspiration and insight into her passion for the craft, people and life. She's just a click away. Then, follow her and the entire US LUMIX Ambassador team. They're regularly speaking at LUMIX retailers and conventions around the country. In fact, she'll be with me and several of the other LUMIX Ambassadors at WPPI in the Panasonic booth #934 February 27-29. They're one of the most diverse and creative teams in photography, and should all be on your radar. You'll be surprised at how much great content they share.
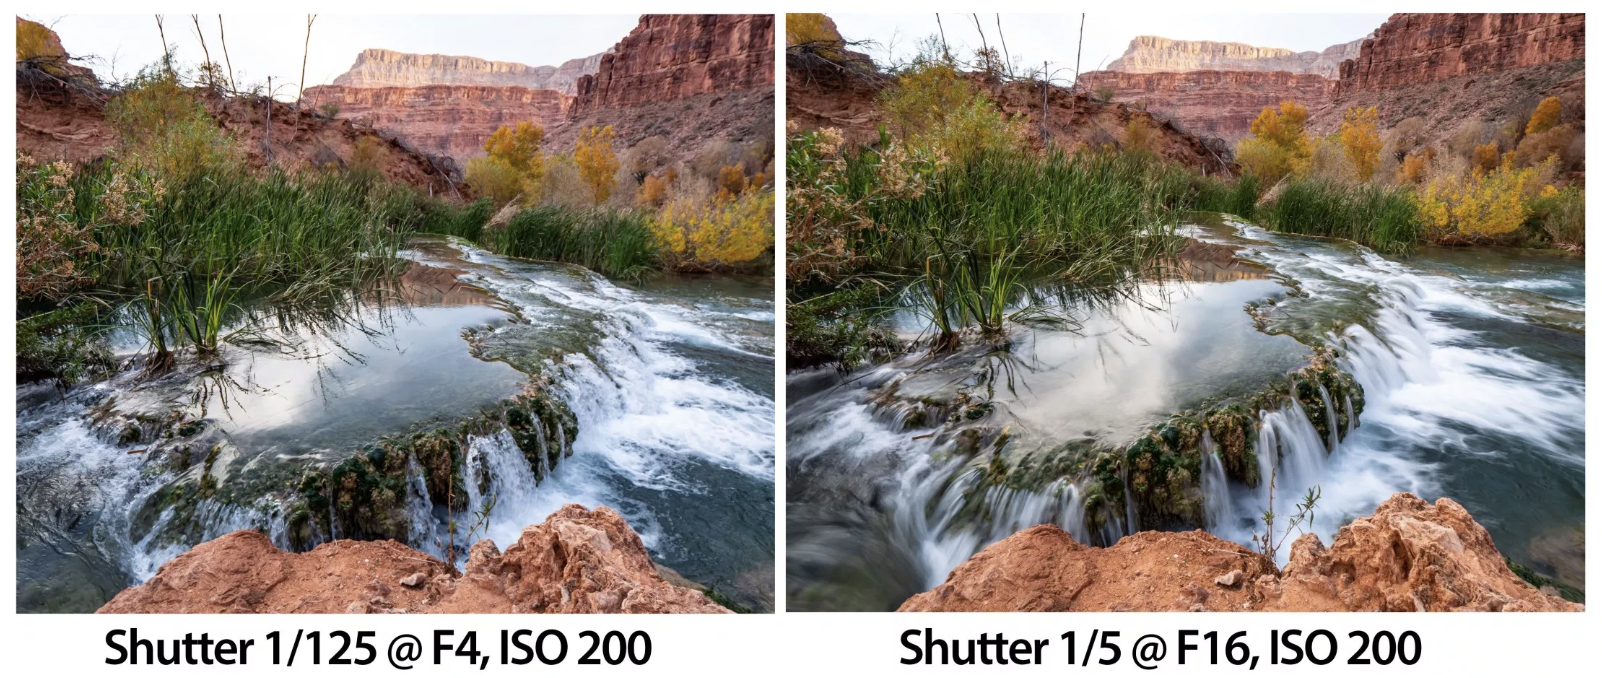
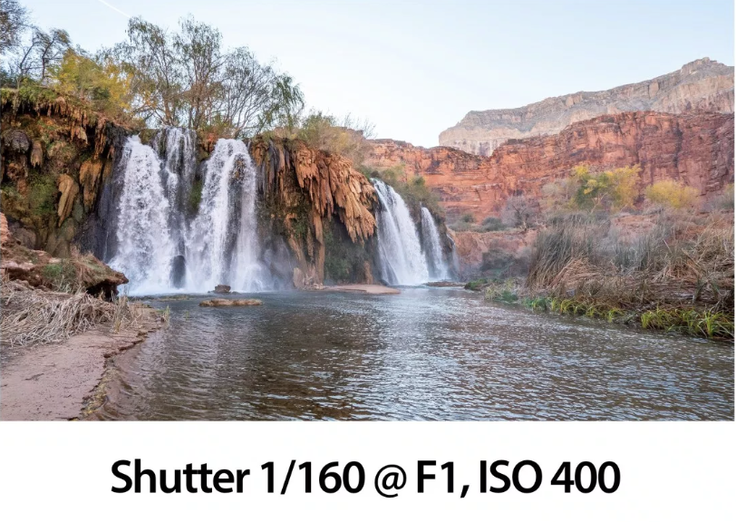
by Suzette Allen There’s something magical about the silky softness of a waterfall, shot with a slow shutter speed! While it’s very easy to do once you know how and have the right equipment, it seems just like pure magic before you master it! In this blog, you will learn how to capture water flow with a silky soft look, whether it be a grand waterfall like Havasu or a babbling brook down the road from you. One thing that is necessary is a tripod, or at the very least, set your camera on a rock or log or something very stationary. Camera movement will destroy this effect in a fraction of a hot second! In the examples here I’m using a Mirrorless Micro 4/3 camera- the Lumix G9 and either the 7-14mm lens above or the 8-18mm lens. I have my camera on a MeFoto Backpacker tripod which is light and easy to hike with, so it was my companion for the 57 miles we hiked in 7 days in the Grand Canyon on this trip! Note: There were times I used it as a walking stick as well, when we walked the Narrows in freezing cold water in Zion National Park too! But next time I won’t do that—I’ll tell you why (and show images) in a different blog!. Anyway, the trick to getting a soft silky water look is shooting in manual mode and using a slow shutter speed. Typically, you are shooting in the daytime, and hopefully in shade (or you will NEED neutral density filters), and you want to shoot with the shutter speed at 1/8 of a second or slower if possible. It was relatively soft light, but at ISO 200, which is the lowest my camera goes, and the aperture at F22, the highest f-s top it offers, the slowest I could go was in the range of 1/5 to 1/8 of a second. Otherwise my image was overexposed. 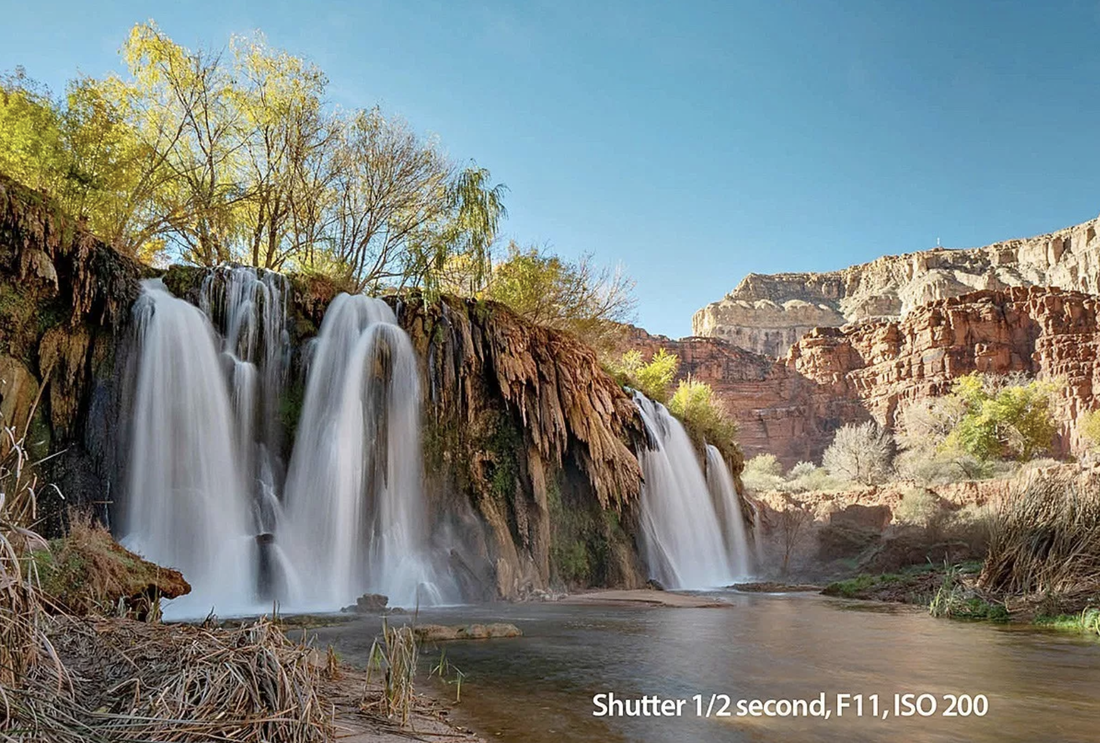 I got a silky look in my images at the very top, but not quite as soft and nice as my husband Jon got because he had the Neutral Density filters. And, was able to drag his shutter to 1/2 second, giving it that extra-smooth look and not get over exposure! It usually requires a bit of experimenting with a DSLR because you cannot see the effect or the exposure through the view finder and you need to shoot and adjust and re-shoot and adjust a few times until you get the right combination. Even if you use a meter, there is some experimentation or at least bracketing. What I love about the Mirrorless Lumix is the EVF, or Electronic View Finder, which shows you exactly what your exposure looks like AND the effect of a slow shutter speed! [Be sure to turn on the Constant Preview feature to see that]. My camera is ON Constant Preview all the time and I literally cannot live without it. The other benefit is the Zebras feature, which shows any part of the image that is overexposed with little black zebra stripes, alerting you to the overexposure BEFORE you take the shot! Take a look at this short video taken of Havasu Falls, where I show how I can confidently get a great exposure without any blown-out pixels (or needing to bracket or use a meter). This feature is also turned on ALL the time on my camera and is an invaluable tool for getting great exposures all the time. Turning on Constant Preview on the Lumix G9 Menu>Custom Wrench>Monitor&Display>Page4, bottom item: Constant Preview turn to ON Setting the Zebras on the Lumix G9 Menu>Custom Wrench>Monitor&Display>Page5, almost bottom item: Zebras Choose SET and then choose [Zebra2 100%] and then turn it ON. Hit the center Set button on the camera back to be sure it is turned ON. A few notes about this technique.
1 Comment
3/26/2019 03:53:33 am
Hey buddy! Nice blog post. Really enjoyed it. Keep up writing such nice blogs. Your comment will be posted after it is approved.
Leave a Reply. |


Our Partners


"Why?"Check out "Why?" one of the most popular features on the SCU Blog. It's a very simple concept - one image, one artist and one short sound bite. Each artist shares what makes the image one of their most favorite. We're over 100 artists featured since the project started. Click on the link above and you can scroll through all of the episodes to date.
Categories
All
|

 RSS Feed
© 2019 Skip Cohen University