|
Most of you who know me are aware that I'm all about easy technology. In fact, I'm a poster child for "Low Tech". So, when Matt and Josh, two good buddies at X-Rite asked me to be part of the beta test on ColorTRUE, after telling them they were nuts, I agreed to give it a shot. Just a few minutes ago the ColorTRUE site went live and for one of the very first times in technology, I'm ahead of the curve! This is an amazing product and so perfect for today's applications. In the "old days" photographers would show me their portfolios, but today it's all on an iPad or their phone. What amazes me is how few photographers have thought about color calibration of the device itself. It's the old equivalent of fools who spent a fortune on great speakers in the 70's, but played an album on a cheap turntable with a ten dollar stylus - I'm counting on at least one of you to know what a turntable is! LOL Well, if you're showing images, especially to a potential client or sponsor, you've got to see them with the very best quality they deserve! Why would you consider any compromise?
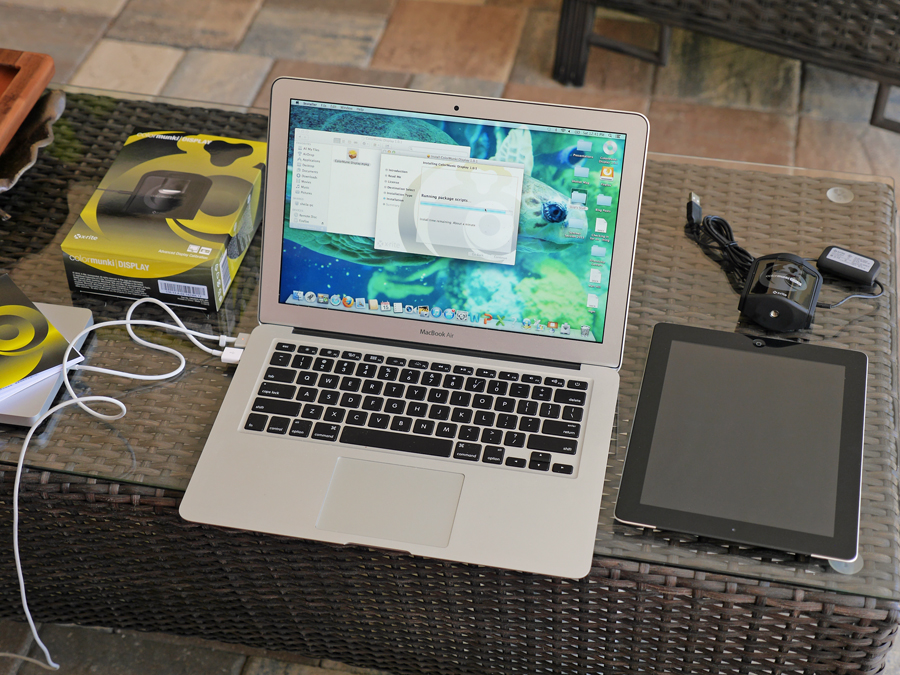
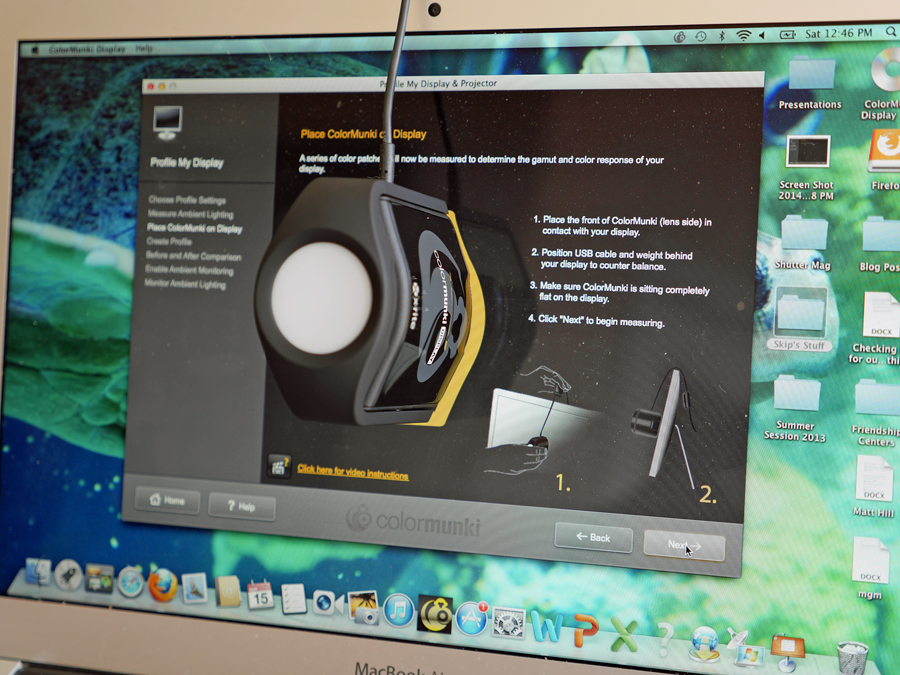
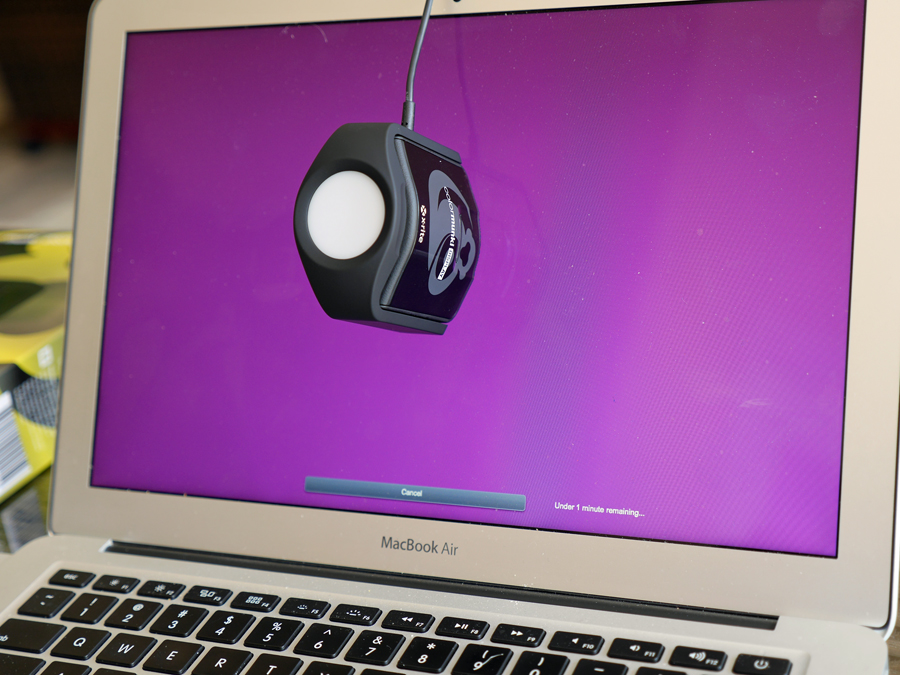
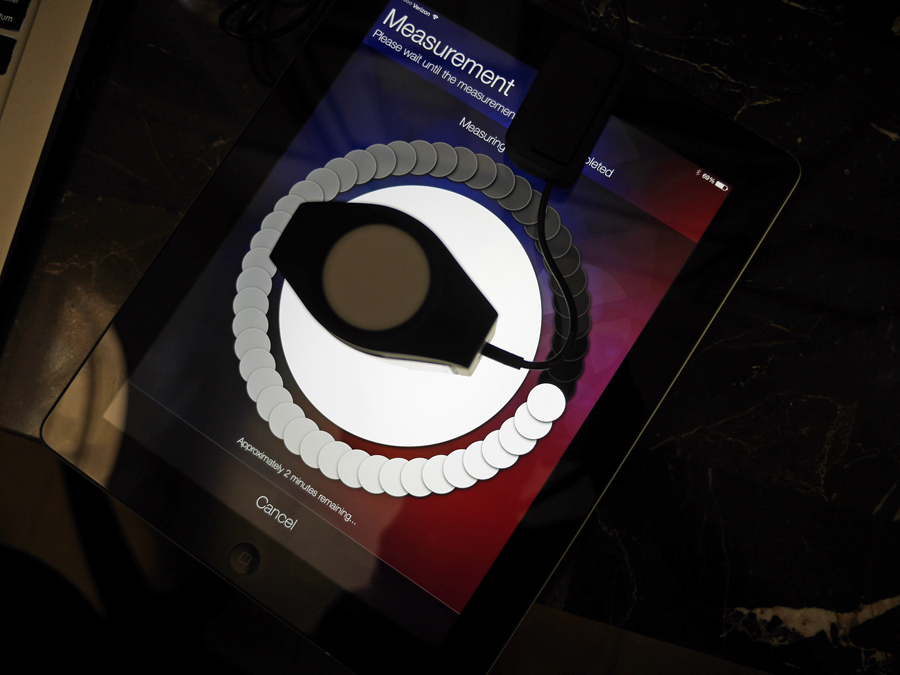
I decided to start out completely from scratch, using my MacBook Air which has absolutely no calibration software. I got a cup of coffee and just sat down and read the instructions, which I never do. The process of getting started couldn't have been easier as X-Rite's software for my ColorMunki Display seemed to know the system was talking to a technically-challenged moron! Once loaded and calibrated, I hit the button to calibrate my iPad and everything started talking to each other. I had previously loaded in the Beta software. I had a minor challenge when the iPad couldn't find my MacBook, but even that was easily resolved by hitting x-rite's trouble-shooting guide and simply fixing my the specs on my firewall.
Through color calibration and then black and white - x-rite, ColorMunki and the software did it all. Here's what I love most about the process - THE RESULTS! I now have the ability to see what the image will look like calibrated and uncalibrated. I've got the ability to adjust my iPad for the lighting conditions around me that I'm viewing in with "Ambient Compensation". I can see what my image will look like using "Print Simulation", which allows me to preview how an image will look printed on various output devices. Anything I show now is being shown with the very best quality of light and color. If you still have doubts on how amazing this is, don't take my word for it - just watch the video! We're still in convention season and many of you have some serious shows and workshops coming up. Don't compromise on showing your images. Get your device calibrated before you start sharing your work. The application download is free and just a click away! You're working so hard to capture and create the ultimate images, give it the presentation it deserves!
0 Comments
Leave a Reply. |


Our Partners


"Why?"Check out "Why?" one of the most popular features on the SCU Blog. It's a very simple concept - one image, one artist and one short sound bite. Each artist shares what makes the image one of their most favorite. We're over 100 artists featured since the project started. Click on the link above and you can scroll through all of the episodes to date.
Categories
All
|

 RSS Feed
© 2019 Skip Cohen University