SkipCohenUniversity
  • Home
  • SCU Blog
  • Our Podcasts
  • About Us

The Tamron Theater

"All of us tend to think of Tamron as a great manufacturer of optics. Let's face it, they make GREAT glass, but there's another aspect to Tamron's incredible presence in the industry. They believe in education and support for photographers who are working professionals, aspiring pros and serious hobbyists. They're all about helping you with the quality of every image you capture, from their workshops and Tailgate Tour to tech support online, Customer Service and all of their educational material.

In the Tamron Theater we're sharing videos, podcasts, guest posts and images from some of the very best artists in the world. 

Welcome to the Tamron Theater!"


Skip Cohen

Visit Tamron USA

Are You Ready for Your Own Exhibition? Part III

6/24/2015

0 Comments

 
This is the third and final part in a three-part post to help you through the challenges of your first solo exhibition. It's written by Kevin A. Gilligan and just like his images, he exceeded all expectations when I asked him to consider a guest post about his first photography show. It also includes a great little podcast, which I've chosen to share with each post, just in case you're tuning in late.

Kevin is a Tamron Image Master  and has an incredibly diverse background, but when there's a camera in his hands, it's all about the big picture, the landscape. All of the images shared in each of these three posts are all thanks to Kevin's creative eye put together with Tamron's outstanding glass!

This is going to sound sappy, but I'm a sappy guy. I couldn't be more proud to consider Kevin a friend or Tamron as a supporter of not only SCU, but our industry. Every day they're helping thousands of photographers raise the bar on the quality of their images and in turn their business or hobby. Both Kevin and Tamron have a very special common denominator, they always work to exceed our expectations!
Picture

What I Learned From My First Solo Photography Show - Part III

by Kevin A. Gilligan
Tip #11 Test Prints
This will be obvious to some, but test prints are critical.  You need to know how your image will look on the particular medium that you are using. Half of my images were printed on metal for this show. I ordered several metal prints (dye fused on metal) from several print labs before the show.  I experimented with several different finishes on the metal as well i.e. glossy, matte, etc.  The paper prints were even more complicated.  Each paper has a different print quality, price and displays the ink differently. “HELP”….my head was spinning. I spent many hours working with a printer to get each shot right. Finding the right framer, at the right price, can also be challenging. Your network can be invaluable here.

Tip #12 Installation/Hanging Your Images
Hanging images can be very challenging. Honestly, I hate doing it. Give yourself enough time. At least a day. If you have done your model (tip #10), then this will be much easier, you already know which images go together as a group, and where specifically each will go. Ask for help, bring a friend who has done this already if you can.  Keep in mind that some galleries will hang images with wires and some galleries only want “D” rings. You should ask the gallery how they want the images before you frame them, assuming the gallery is going to help you hang the images.
 
Picture
Tip #13 Create a Catalog
Create a catalog of your work for the show. Include your artist statement, pictures of the images, the size of the images, the medium, and the price. I made 250 copies of the catalog, and it was well worth it. Hand it out at the show and let people take it home. This will help with your follow-up sales.

Tip #14 Sign-In Book
Purchase a nice leather bound book for the show and have people sign in and provide their name and email address so you can thank them for coming and invite them to future events.

Tip #15 Follow-Up
Follow up with your prospective purchasers after the show. Thank those who came to the show and especially those who purchased an image. 

Tip #16 Hire a Photographer
Hire a photographer for the day, so you get images (with you in them for a change) and you can relax. You’ll be happy to have the images of your friends and for use in future marketing and social media efforts. 
    
Conclusion:
Having a solo exhibition is a landmark in your professional photography career. It says you are serious about your photography and willing to put in much more time and effort than the average photographer. Give yourself lots of time, six-nine months and enjoy the learning process.

Nearly 250 people attended my exhibit, I sold a third of my images during the show, and even more after the show. I met collectors and I'm building my mailing list. It was an exhilarating and somewhat exhausting experience. I couldn’t be happier I did it.  I hope you do it too. 

Email me at: kag@photosbykag.com and tell me about your exhibit. You can see my work on my site: www.photosbykag.com.

To catch up on your reading, if you missed the first two parts, here are the links.
"My First photography show" Part I
"My First Photography Show" Part II
0 Comments

Are You Ready for Your Own Exhibition? Part II

6/23/2015

0 Comments

 
Picture
Intro by Skip Cohen

Tamron Image Master, Kevin Gilligan has an incredibly diverse background, but when there's a camera in his hands, it's all about the big picture, the landscape. His "mind's eye" has priority over everything he captures and one image after another is stunning, leaving the viewer with a moment to pause, reflect and within seconds be pulled into the image.

This is the second part of a three-part post accompanied by a great podcast. As I said with yesterday's "Part I", there's just too much content to share in one single blog post. Kevin's ability to share this information in such detail is one of the things that makes him such a great representative for Tamron - he's always willing to help. 

What I Learned From My First Solo Photography Show - Part II

by Kevin A. Gilligan

Tip #5 Find a Place to Show Your Images

Obviously, this is very important. You might even want to determine this first. Many decisions spring from this decision. You need to know what this space will look like so you will know how much space you have for images. How many can you show? How will you present them? The location is also an important consideration for your audience. How far will they travel to see you work? When the venue is available will affect how much time you have to prepare everything.  If the location is a gallery or museum, it will likely have a lot of lighting, and it will be flexible to highlight best your art. If the location is not a gallery, you may need supplemental lighting.  How much will the location cost to rent? Will you pay a flat fee or a percentage of your sales? Do they allow food and alcohol? Will they do marketing for you or will you be expected to do all of your marketing? Do they have a mailing list to promote you?

Finding the right space took months for me. I had been paying attention to the galleries during my group shows. I was ready to book one gallery and it closed. I was disappointed, and had to start my search over. I contacted real estate agents about vacant spaces, but that never panned out. The real estate agents always wanted too much money for a short exhibit, and they also wanted me to get insurance and pay for electrical hookups and the like. The logistics didn’t work out. 

Ultimately I found a local gallery and was able to pay them a flat fee. They had lots of lighting, and they even helped me hang my images, which was great.  I also found a very supportive group of artists who were interesting and fun.

Tip #6 Seek Show Sponsors
Putting on a show is expensive. Printing, framing, gallery space, public relations, food and beverages, a catalog….they all cost money. It’s thousands of dollars any way you cut it.  Seek sponsors to help you reduce your costs, and give your sponsors billing on your public relations, social media, and gallery space.  Hopefully, you have been building your connections as you have exhibited in group shows to this point.
 
Sponsors can also include local food and beverage companies who may be new and want to expand their client base. I was grateful to have Tamron USA, Pelican Products and a local brewery and chocolatier as my sponsors.  You don’t have to provide a full dinner, but some wine and cheese, or beer and chocolate is in order.  I did not drink during the show so I could stay sharp and attend to my guests. 

Tip #7 Create a Show Flier
Once you selected the show name, images, location, and dates, it is time for a show “flier.” My flier had a key image for the show that would be on all the advertising, dates and times, and names of my sponsors, my website, and email address. I printed several hundred 4x6 postcards and carried them with me all the time. I handed out hundreds of these over the course of 3-4 months and left them at key places like my local photography shop. 

Tip #8 Social Media
As soon as you book the date of your show, send out a “SAVE THE DATE” on social media. Use the show flier on social media. Send it out to all your outlets: Facebook, Twitter, Google+, Instagram, your mailing list.  Your sponsors will appreciate it.  Vary the message, talk about the process, show the location, your printing, and framing. Don’t overwhelm but give periodic updates.  Ask your friends and sponsors to help spread the word. Post images of the show itself, friends having fun, and perhaps even images you sell.  Be sure to reach out to people individually before and after the show. Take the time to demonstrate that you are looking forward to people coming to the show, and say thanks to those who do come.

Tip #9 Be Humble and Ask For Help
You are going to need help, probably a lot of it. So be humble and ask for help. I’ve always been a believer in shopping locally. I buy a lot of my camera equipment from local camera stores. Yes, it costs me a bit more in the short run, but in the long-run the help with equipment and questions is invaluable.  Plus I like to support my local community. For this show, I spent quite a bit of time working with an extremely talented photographer and printer from my local camera store.  She helped me with paper selection, printing and gave me many helpful suggestions.  One of the best suggestions she gave me was to create a replica model of the show space.

Tip #10 Create a Replica of Your Exhibit Space
Grab a legal pad, a few pens, and a tape measure and go visit your exhibit space. Measure the dimensions of ALL the walls and draw a diagram while you are there. Next create a model of the space out of foam board. Make every foot equal to one inch and be sure the model is to scale. Height of the walls and distances included. 

Write the height and width on each wall. Connect the foam board pieces using clamps and/or nails. You will want to be able to take the walls apart and put them back together again.  You are going to print super-small copies of your pictures and post them to the walls using pin cushions. By doing this, you will be able to see which images go together on a wall, which images should be vertical or horizontal. You are going to measure out the distances exactly. 

Did this take a lot of time….yes. Did I get frustrated doing this….yes. Was I delighted when I got to the gallery, and I knew exactly where each piece was going to go……? Absolutely. It cut down on a lot of stress on the day of installation.

Coming up tomorrow, Kevin wraps it up with a half dozen more details to consider to make your first photography show a success!
0 Comments

Are You Ready for Your Own Exhibition? Part I

6/22/2015

0 Comments

 
Picture
Intro by Skip Cohen

Tamron Image Master, Kevin A. Gilligan has an incredibly diverse background, but when there's a camera in his hands, it's all about the big picture, the landscape. His "mind's eye" has priority over everything he captures and one image after another is stunning, leaving the viewer with a moment to pause, reflect and within seconds be pulled into the image.

Recently Kevin did his first exhibition. He pulled it together himself looking for the right venue, then selecting the images he wanted to share and in the end held a weekend opening to show his work. In a recent phone conversation I asked if he'd be willing to write a blog post. Like every image he captures, he exceeded my expectations.
This is a the first of a three part post accompanied with a great little podcast. There's so much to this topic, but it's just too long for just one blog post. 

Kevin couldn't be more open in talking about the steps he took to create his own exhibition, the results and everything he learned. Sharing this information is one of the things that makes him such a great representative for Tamron USA - he's always willing to help. 

Click the start button below to hear the podcast.

What I Learned From My First Solo Photography Show - Part I

by Kevin A. Gilligan

Landscape photography is one of my passions.  I love the feeling of capturing a great scene, especially if I get to explore somewhere new while doing it.  Photographers love to share their best images. We want others to enjoy and appreciate them, and hopefully, buy them.  

In the past five years, I’ve shown my landscape and travel photography in a half-dozen group shows, and two museums. Last year I began to feel it was time to have a solo exhibit.  I’m a self-taught photographer, and I was not planning to wait around for a gallery to offer me a show. I made up my mind that I was going to create my show. Over the course of six months, I planned and executed every detail of a solo show. 

Deciding to do a solo exhibit is a large commitment of time, resources, and ego. Yep, ego, you are putting yourself out there, and saying come look at my work. You have to have the confidence to show it, and a thick skin for those who won’t like it. Photography is art; you won’t please everyone, nor should you try to.

The opening night of a solo show is exhilarating and worth all the work that goes into it.  I learned a ton in the process. Here are a few tips I can share for those who are committed enough to put on their first solo show.

Tip #1 Try a Group Show First
Group art shows are a perfect way to ease your way into showing your work.  You don’t need many pieces; you can often show just one. It takes less time and less money, and there is less pressure because much of the logistical work is already done. You don’t have to book a gallery space, and often someone will hang the images for you. The theme may already be selected.  The group shows help you build your network of contacts: collectors, framers, printers, public relations folks. Hand out your cards, get the cards of others, send thank you notes. 

Tip #2 Select Your Best Images
Learning to select your best images and editing them for a show is a big first step.
You must learn to be ruthless. I have over 40,000 images in my catalog. I showed 27. If you are thinking about a solo show, I am assuming you are already proficient in post-production using Lightroom/Photoshop, etc.  Selecting your images for a show is much more than just processing your images. It involves selecting a group of images that go together in the show.  You might have several groupings of images.

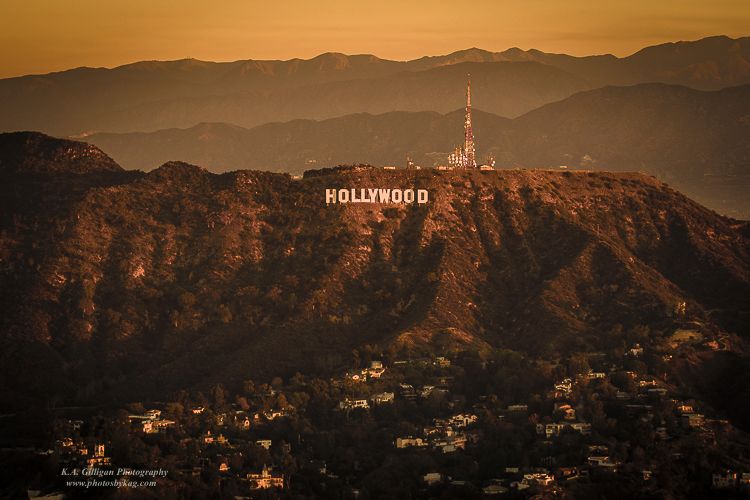
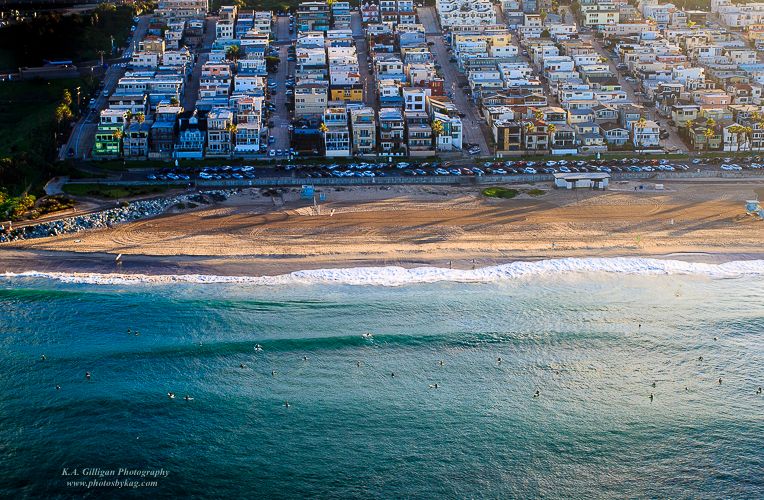
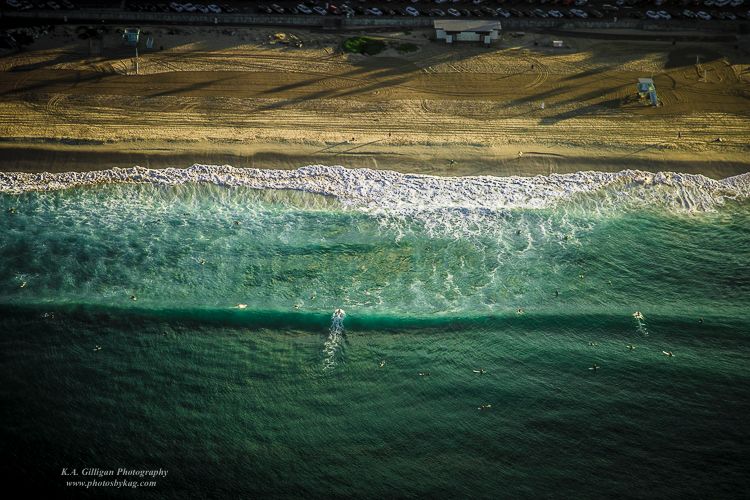
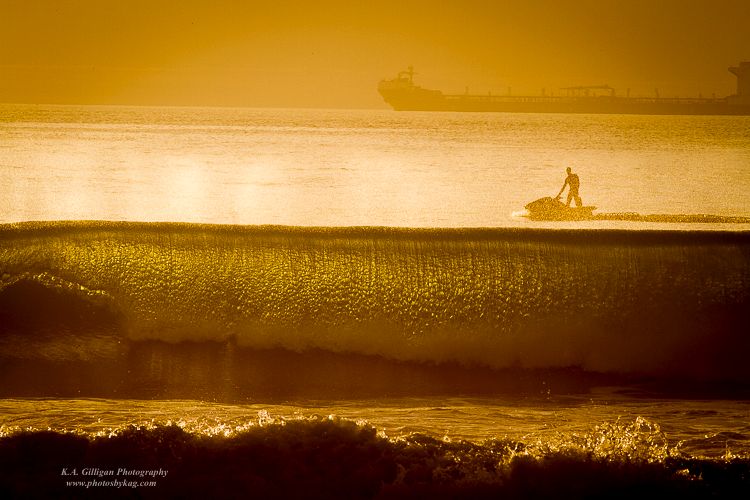
For my exhibit, I had 27 images in three groups. The first were aerial images of Los Angeles. I printed those on metal. The second were black and white photographs of Rocky Mountain National Park; those were printed on paper and framed and matted. The third group included some of my favorite water-related images, and a few black and white, or dark themed landscapes that complimented the Colorado images.

Tip #3 Print A Test Book
Once I had a semi-final selection of images, I printed a high-quality test book. The book was about 5x7 inches, and I did not spend a lot of time on the text. The point of the book was to see how the images looked together and to have the book to take with me when I met with galleries. It was also an inspiration to me to keep going.  When I was tired or frustrated, I could look at the book and remind myself of my purpose. The book was something tangible I could hold in my hands. I also showed it to a lot of potential guests for the show. Printing the book shows you are serious, and it elicits a different reaction than, “Hey, look at these pictures on my iPhone.” Everyone has pictures on their iPhone, this is different, print a book. You will look at your images differently. It pushes you to do better.

Tip #4 Theme/Artist Statement
You need a theme. Your exhibit will need a name.  Give some thought to what will describe your show to guests. This was hard for me, really hard. It took me a while.  I read photography books, listened to podcasts, talked to my wife about it. I won’t lie, this took me months. Finally, I figured out something that worked for the collection of images I had in mind. ELEMENTS: SEA – AIR – LAND.  Was it the best name ever, probably not, but it told the viewer what to expect, images of the sea, air, and land.  As I got closer to the exhibit I wrote an artist statement incorporating the theme, and what I wanted to convey with this collection of images.  Personally, I think this is an indispensable step to solidify your thoughts and connect with potential collectors. The theme was done early in the process; the artist statement came much later. 

Coming up tomorrow - finding the right venue, sponsorship, creating a flier, social media and asking for help.
0 Comments

"I've never seen anything like this in my life," Ken Hubbard

6/19/2015

0 Comments

 
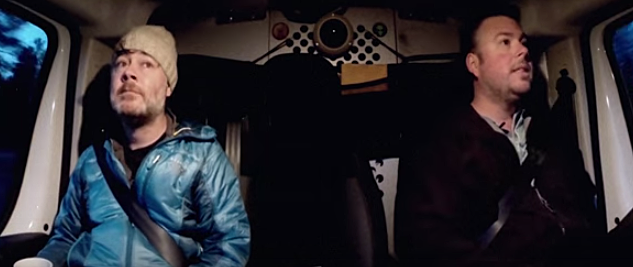
It's another classic in the series with Tamron USA's own version of the "Odd Couple", but here's a point that so deserves to be recognized. The reason I love working with the Tamron team is their passion, not just for imaging, but education. Each one of these videos has been loaded with great content.
Picture
This particular video, might well be my most favorite. The dryness of the humor in the conversation between André and Ken is classic as they both recognize chasing the sunrise is a challenge when you're not quite awake. But, it's their comments on arriving at the Grand Canyon and the images that make this video remarkable.

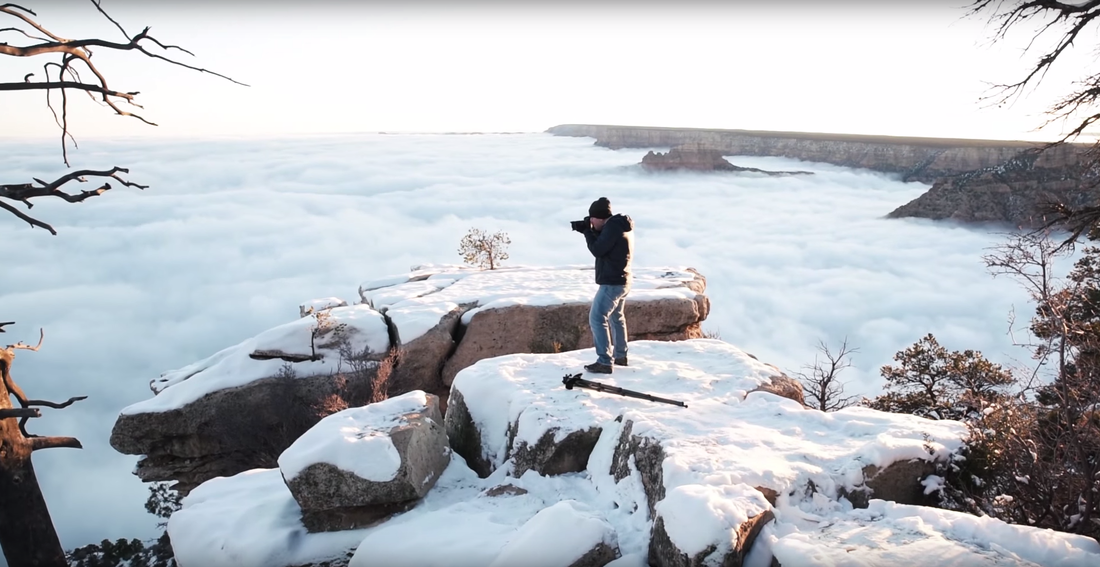
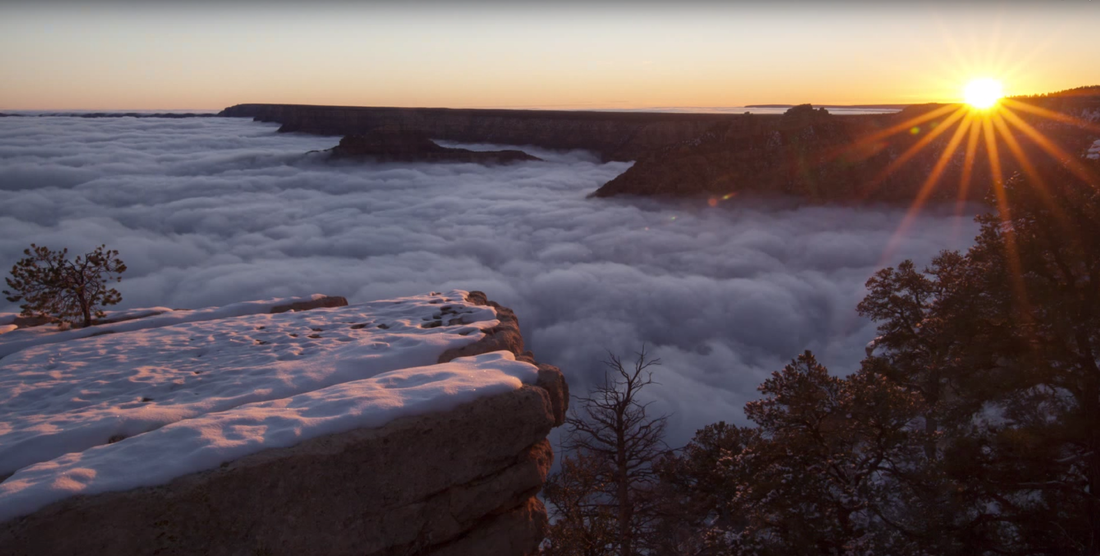
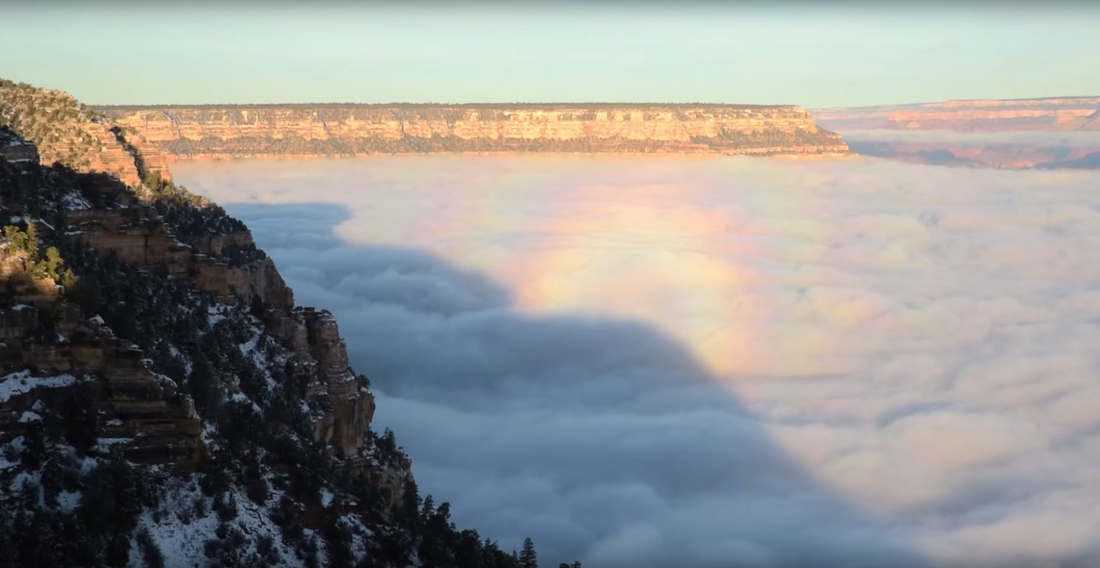
The Canyon was filled with a layer of clouds just below the rim and the way this was filmed gives us all an opportunity to feel the power of the experience. André made the following comments that simply made me appreciate the scenes they're sharing even more...

"Things change so quickly. You're only catching one little moment. So, just being able to witness it without the camera is as spectacular as trying to get some great shots."


This is one of those moments where you shoot whatever you can/want, but it's the "neurochromes" you're capturing that truly become the awesome memory-makers. Not everything you try to photograph can always be captured with a camera.
The imagery in this video is spectacular, but I wanted to capture one special component here in the post. It's just a screen shot of Ken standing on a small rock formation with the beauty and power of the scene rolled out in front of him. When you watch the video you'll get an even better feel for what they witnessed that morning, well beyond the few images below.
Picture
Picture
Picture
Interested in finding out more about Tamron lenses and some of the finest glass in photography today? It's just a click away. Great images, more educational support and a company dedicated to helping artists raise the bar on the quality of every image!
Tamron USA
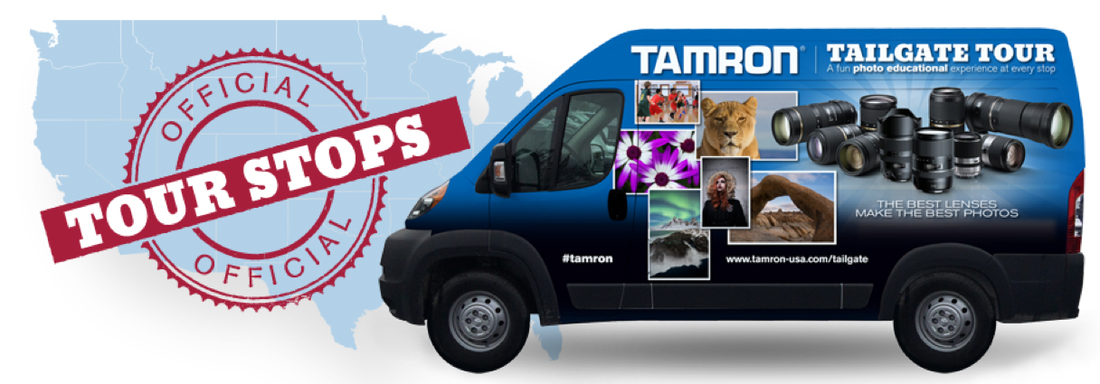
Don't forget about Tamron's Tailgate Tour and your opportunity to meet the team, test drive some amazing glass and pick up a few new tips on how to make your images even better!
Tamron's Tailgate Schedule Through July 20
0 Comments

Tamron's Tailgate Tour - The Schedule Through July 20

6/19/2015

0 Comments

 
Picture
Tamron's tech team represents some of the finest and most diverse artists in photography today. Their Tailgate Tour has set the standard for education and support of the photographic community and they're not slowing down. Here's the schedule through July 20, but there's plenty more coming. Stay tuned!
Picture
6/18-San Diego, CA-Nelson Photo
Event 12pm - 4pm
FREE Mini-seminars under the Tailgate Tent in specified location

  12:00 - 12:45pm
1:00 - 2:30pm
3:00 - 3:45pm

Achieving Perfect Exposure
Portfolio and Image Review
Understanding Your Digital Darkroom

Sign up for "The Field Guide to Inspired Photography: See It, Capture It, Work It" 2-hour evening seminar with welcome bag only $25, Get details. Click to register >>
 
6/24-Santa Rosa, CA-Shutterbug Camera
Event 12pm - 4pm
FREE Mini-seminars under the Tailgate Tent in specified location

  12:00 - 12:45pm
1:00 - 2:30pm
3:00 - 3:45pm

Achieving Perfect Exposure
Portfolio and Image Review
Understanding Your Digital Darkroom

Sign up for "The Field Guide to Inspired Photography: See It, Capture It, Work It" 2-hour evening seminar with welcome bag only $25, Get details. Click to register >>

 6/27-Riverside, CA-Image One Camera
Event 12pm - 4pm
FREE Mini-seminars under the Tailgate Tent in specified location

  12:00 - 12:45pm
1:00 - 2:30pm
3:00 - 3:45pm

Achieving Perfect Exposure
Portfolio and Image Review
Understanding Your Digital Darkroom

Sign up for "The Field Guide to Inspired Photography: See It, Capture It, Work It" 2-hour evening seminar with welcome bag only $25, Get details. Click to register >>

6/28-Gardena, CA-True Fast Garage
Event 9am - 12pm
Join us on this special Tailgate Tour stop for a unique opportunity to photograph motorcycle owners and friends with their bikes at one of Southern California's premier independently-owned motorcycle service shops. Motorcycles available to photograph will include Harley Davidson, Triumph and custom bikes.

9:00am Meet and Greet
9:15am 45-min presentation: Portrait & Lighting by Hernan Rodriguez
10:00am Open photo session for all attendees, Tamron loaner lenses available
45-minute seminar, 2-hour shooting session with bike owners and models, Tamron lens loaners, $25 bonus rebate on select Tamron lenses, welcome bag and light snacks and refreshments. $49 
Get details. Click to register >>

 6/30-Mill Valley, CA-Mike's Camera
Event 12pm - 4pm
FREE Mini-seminars under the Tailgate Tent in specified location

  12:00 - 12:45pm
1:00 - 2:30pm
3:00 - 3:45pm

Achieving Perfect Exposure
Portfolio and Image Review
Understanding Your Digital Darkroom

Sign up for "The Field Guide to Inspired Photography: See It, Capture It, Work It" 2-hour evening seminar with welcome bag only $25, Get details. Click to register >>

 7/2-Campbell, CA-San Jose Camera & Video
Event 12pm - 4pm
FREE Mini-seminars under the Tailgate Tent in specified location

  12:00 - 12:45pm
1:00 - 2:30pm
3:00 - 3:45pm

Achieving Perfect Exposure
Portfolio and Image Review
Understanding Your Digital Darkroom

Sign up for "The Field Guide to Inspired Photography: See It, Capture It, Work It" 2-hour evening seminar with welcome bag only $25, Get details. Click to register >>

7/8-Portland, OR-Pro Photo Supply
Event 12pm - 4pm
FREE Mini-seminars under the Tailgate Tent in specified location

  12:00 - 12:45pm
1:00 - 2:30pm
3:00 - 3:45pm

Achieving Perfect Exposure
Portfolio and Image Review
Understanding Your Digital Darkroom

Sign up for "The Field Guide to Inspired Photography: See It, Capture It, Work It" 2-hour evening seminar with welcome bag only $25, Get details. Click to register >>

7/13-Lakewood, WA-Robi's Camera Center
Event 12pm - 4pm
FREE Mini-seminars under the Tailgate Tent in specified location

  12:00 - 12:45pm
1:00 - 2:30pm
3:00 - 3:45pm

Achieving Perfect Exposure
Portfolio and Image Review
Understanding Your Digital Darkroom

Sign up for "The Field Guide to Inspired Photography: See It, Capture It, Work It" 2-hour evening seminar with welcome bag only $25, Get details. Click to register >>

 7/15-Kenmore, WA-Kenmore Camera
Event 12pm - 4pm
FREE Mini-seminars under the Tailgate Tent in specified location

  12:00 - 12:45pm
1:00 - 2:30pm
3:00 - 3:45pm

Achieving Perfect Exposure
Portfolio and Image Review
Understanding Your Digital Darkroom

Sign up for "The Field Guide to Inspired Photography: See It, Capture It, Work It" 2-hour evening seminar with welcome bag only $25, Get details. Click to register >>

7/17-Seattle, WA-Glazer's Camera
Event 12pm - 4pm
FREE Mini-seminars under the Tailgate Tent in specified location

  12:00 - 12:45pm
1:00 - 2:30pm
3:00 - 3:45pm

Achieving Perfect Exposure
Portfolio and Image Review
Understanding Your Digital Darkroom

Sign up for "The Field Guide to Inspired Photography: See It, Capture It, Work It" 2-hour evening seminar with welcome bag only $25, Get details. Click to register >>

 
0 Comments

    RSS Feed

    Click on any banner below for more information.
    Picture
    Picture
    Picture
    Picture

    Archives

    November 2017
    October 2017
    September 2017
    August 2017
    July 2017
    June 2017
    May 2017
    April 2017
    March 2017
    February 2017
    January 2017
    December 2016
    November 2016
    October 2016
    September 2016
    August 2016
    July 2016
    June 2016
    May 2016
    April 2016
    March 2016
    February 2016
    January 2016
    December 2015
    November 2015
    October 2015
    September 2015
    August 2015
    July 2015
    June 2015
    May 2015
    April 2015
    March 2015
    February 2015
    January 2015
    September 2014
    August 2014
    July 2014
    June 2014
    May 2014
    April 2014
    March 2014

Categories​

Business
Marketing
Technique
Sales
Fast Food Fridays
​

Podcasts

Tamron Recipes 
Beyond Technique
Why?
Mind Your Own Business
Pro Photographer Journey

 Partners

Tamron
PhotoTexting

​Lumix

Marathon Press
​Platypod
©  2019 Skip Cohen University
  • Home
  • SCU Blog
  • Our Podcasts
  • About Us