|
Intro by Skip Cohen Bob Coates has done a number of guest posts here at SCU. Well, he keeps finding some serious features in the LUMIX family that blend in perfectly with various challenges from different situations/conditions. Today, he's sharing some great examples of things you can do with in-camera editing and the Illustrative Art setting. Interested in seeing more of Bob's work, check out his fine art site and follow his new blog. You'll never be disappointed. I was never a fan of ‘artistic’ camera presets before working with the Lumix cameras. And, while I will say they aren’t the be all and end all of working with your images, they can be quite handy. I think of it now as an extra tool set for processing images in camera especially now as you can tweak the settings on the individual filters in different ways like changing exposure, color balance and curves (on the GX7) and more… Here are some examples where they can come in quite handy. You are working in the studio and have complete control over your lighting and you are running a special on sepia tone prints and want to turn the product over quickly with a crafted look. You can take the sepia tone pre-set (or build your own) and make it a custom setting. The images can move directly from the camera to the computer. Then with only resizing, adding a slight vignette and some sharpening off it goes to the printer. Working for a gritty B&W look for a cityscape study or musician image? Just set yourself free to experiment. I keep finding more ways to use the presets than I ever thought possible. I even add them to video for some interesting looks. Check out this little slice of a New York intersection with the setting Illustrative Art on the Lumix GX7. I call this a New York Minute. Set aspect ratios for the format so you see the image you want without having to guess how it will look cropped once you get back to the computer. It’s also handy for showing people exactly how the image will look right on the back of the camera. Here’s an interesting aside, I always find it funny the habits one can get into… like having the square format chosen for shooting and then flipping the camera to try and get a different composition. (Oh come on! You know you’ve done it too!) One thing to remember is to save the image as a jpeg if you want the camera to apply its preset goodness. If you set your camera to save your images only as RAW files you will see the images that way when reviewing images on the back of the camera, but only get a glimpse of the preset processing when you import your images into the computer. Saving a file as RAW gives you the information that was presented to the camera, not the camera processed jpeg. The best of all worlds is to shoot while saving RAW + jpeg then you get the jpeg processed file and you can go back to the original information to process the file to your heart’s content. Wait! You could even blend the jpeg file with new information from the RAW file to add to the fun… But, that’s another article. Yours in Photography, Bob Coates These were all shot with variations of Illustrative Art setting 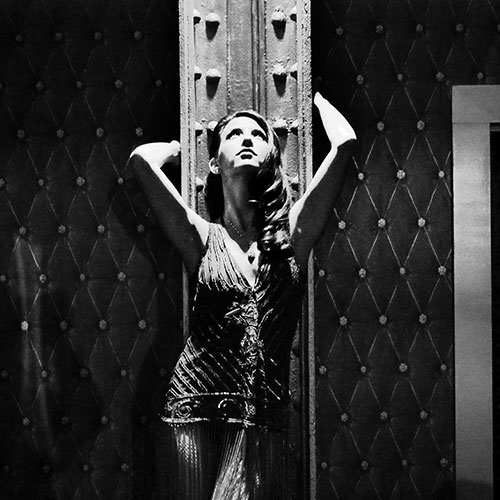 New York Photographed in an almost dark room with just a small accent downlight.
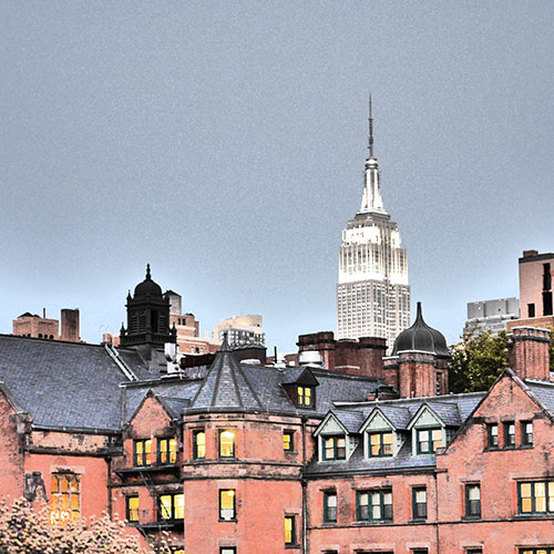 Empire State building from the skywalk New York City 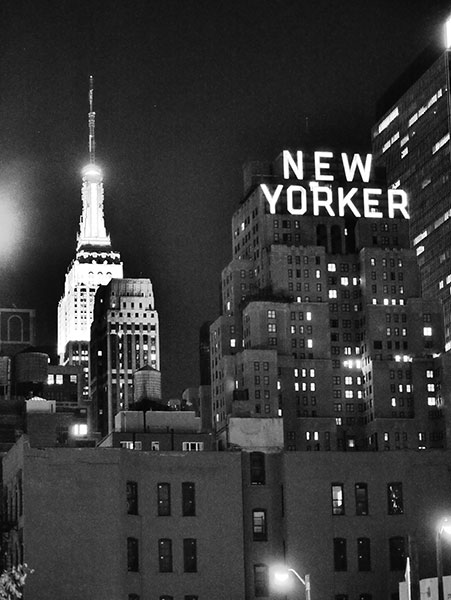 Empire State building at night.
0 Comments
Your comment will be posted after it is approved.
Leave a Reply. |
© 2019 Skip Cohen University