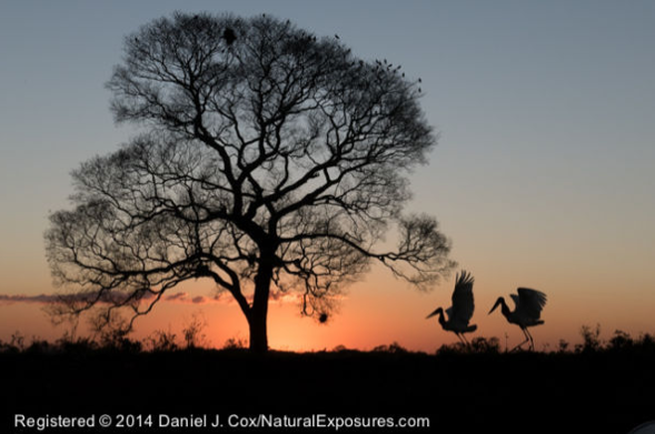
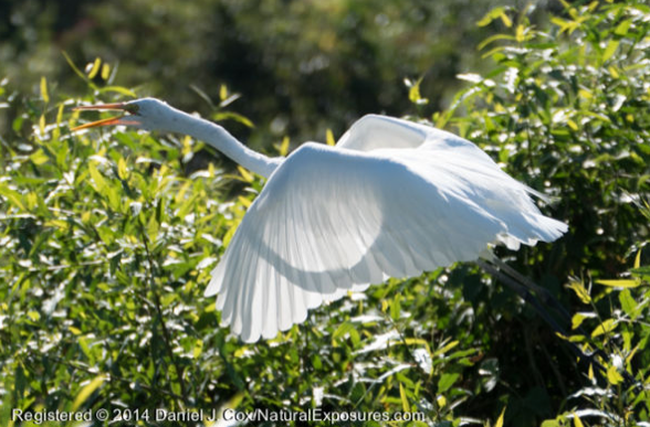
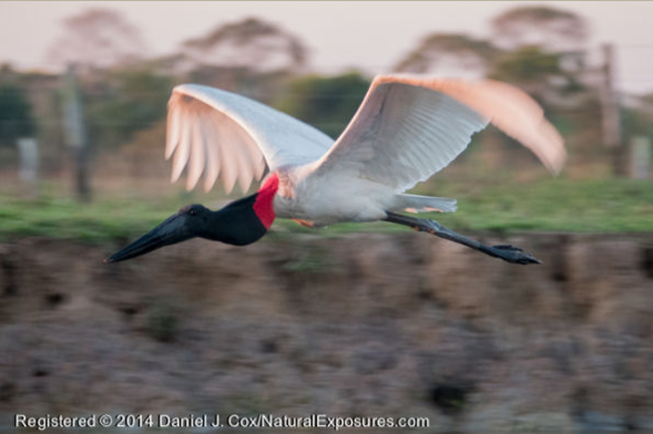
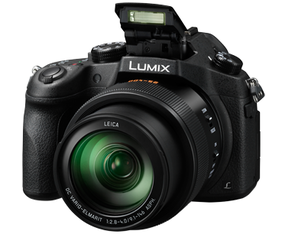
 More info on the FZ1000? Just click on the camera. More info on the FZ1000? Just click on the camera. Intro by Skip Cohen It's a new installment from Daniel Cox taking us from Alaska to the Pantanal of Brazil. Remember the old line about a "rolling stone gathers no moss"? Well, that's the life of this talented Luminary. Once again, as I read through what he's been writing about, I found myself living vicariously through his images and the daily descriptions of his trip. In this excerpt Daniel's using the LUMIX FZ1000. It's a remarkable camera and as he states: '"The Lumix FZ1000 has a lens that reaches from a very acceptable wide angle of 25mm to a respectable long end of 400mm. Even more impressive is the fact this all-in-one lens is an F/2.8 at 25mm and to F/4 at 400mm. Hard to believe but true." Dan should be on your radar. Check out his website at NaturalExposures.com. It's your link to everything he's working on, workshops, projects and his team. Just click the button below to read the rest of Daniels LUMIX Diaries! by Daniel J Cox It’s our first full day at the lodge in the Pantanal of Brazil. I’m here with a group of enthusiastic photographers who are part of our Brazil Pantanal Jaguar Wildlife Photo Expedition Invitational Photo Tour. Before I left home I was fortunate to have Panasonic send me one of their hotly anticipated and currently available so-called “Bridge Camera”, the Lumix FZ1000. What is a “Bridge Camera”? It’s a poorly named group of cameras that are supposed to be targeted to folks who are upgrading from point and shoots and iPhones to a more sophisticated, serious, picture-taking machine. A Bridge Camera, also known as an all-in-one compact, comes with a built-in lens that can’t be changed. The lens typically goes from fairly wide to substantial telephoto. The Lumix FZ1000 has a lens that reaches from a very acceptable wide angle of 25mm to a respectable long end of 400mm. Even more impressive is the fact this all-in-one lens is an F/2.8 at 25mm and to F/4 at 400mm. Hard to believe but true. When I first became aware of the Lumix FZ1000 I started thinking about how nice this particular device would be for people who travel and may not be hardcore photographers. On this trip, 50% of the folks who are with us consider themselves birders. All of them have a camera, but 50% don’t take their photography very seriously. The FZ1000 is perfect for this type of person. It requires no bag of interchangeable lenses, it’s a relatively small package, and it’s exceptionally easy to use and produces stunning photos. What more could you ask for? So far the FZ1000 is working so well it’s actually outperforming my Lumix GH4. Let me explain. Quite simply, the telephoto lens on the FZ1000 is so fast and so accurate that it’s actually shooting better images than the GH4 when the GH4 is attached to the very under performing 100-300mm F/4-5.6 zoom that I use for wildlife. The is even more proof of how badly Panasonic needs to upgrade the 100-300m. The GH4 is a rocket with the professional grade 35-100mm F/2.8, but the 100-300mm just can’t keep up with a flying bird. The Lumix FZ1000 can, at least with the bird flying broadside to the camera. Straight at the camera is something to be determined in the future. I plan to add more to this blog over the next ten days or so, but when I arrived back at the lodge tonight I was so excited by the day’s photo shoot with the new Lumix that I made myself sit down and write the first day of the Lumix Diaries: Adventures in the Pantanal. Stay tuned for more in the coming days.
0 Comments
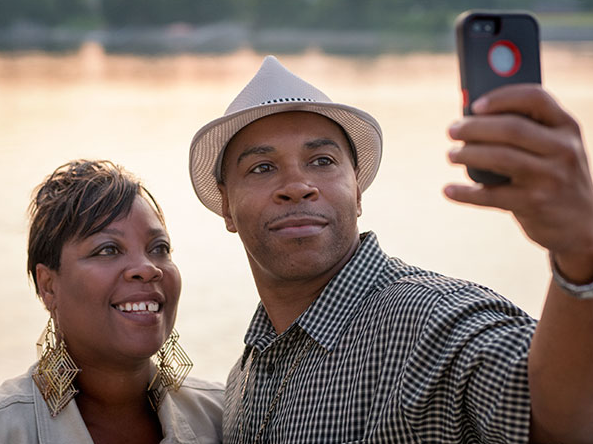
Intro by Skip Cohen Over and over again I've shared posts and comments about the diversity of Panasonic's LUMIX Luminaries. It's a pretty remarkable group and this week, my good buddy, Bob Coates, puts the Leica 42.5 mm Nocticron lens to the test with some beautiful results. Interested in checking out more images and technique from this incredibly talented group of artists? You can get to know all of them by visiting the Lumix Luminary Lounge. 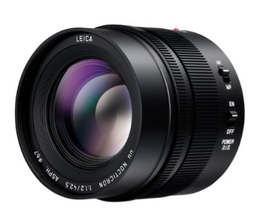 by Bob Coates I've never really been excited by a piece of glass for a camera because of its specialty, but I started playing with the 42.5mm f1.2 Nocticron Leica lens and it's pretty amazing for portraits. It's the 35mm equivalent to the 85mm 1.2 in 35 mm full frame. At the beginning of the month while presenting a program for the Tennessee Professional Photographers Association one of the highlights was a Riverboat Cruise on the Southern Belle. I had just received the lens and hadn't had a chance to put it through any paces so I mounted it on my LUMIX GX7 and started making portraits of fellow photographers and other folks I met on deck. I didn't have any lighting equipment so I had to find nice light and the Nocticron f1.2 made it pretty easy. 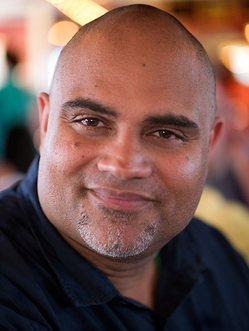 This image of fellow photographer and presenter, Pierre Stephenson, was captured right at the dinner table while we were waiting to head to the buffet. Shooting at f 1.2 the bokeh tamed some of the highlights in the background while lots of light coming from one side of the boat with a full stack of windows on the other side gave great dimension to his features. I love photographing with this lens. The background story about the capture of Blue Eyed Boy, the image above is on Successful-Photographer, just a click away.
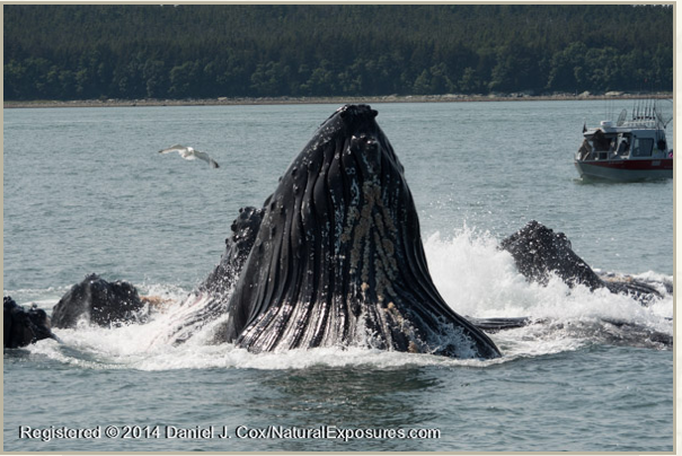
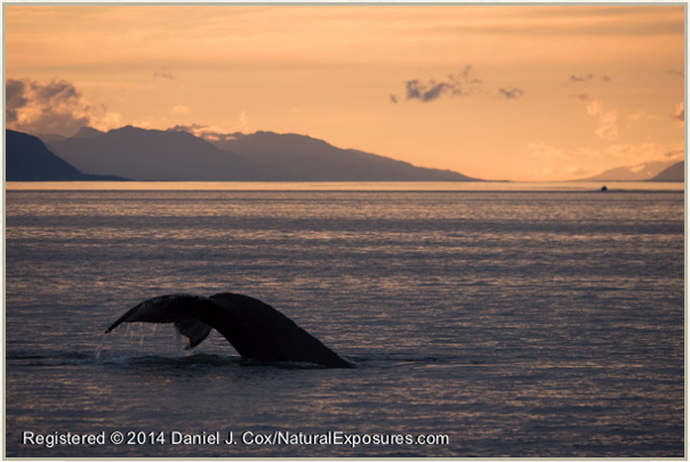
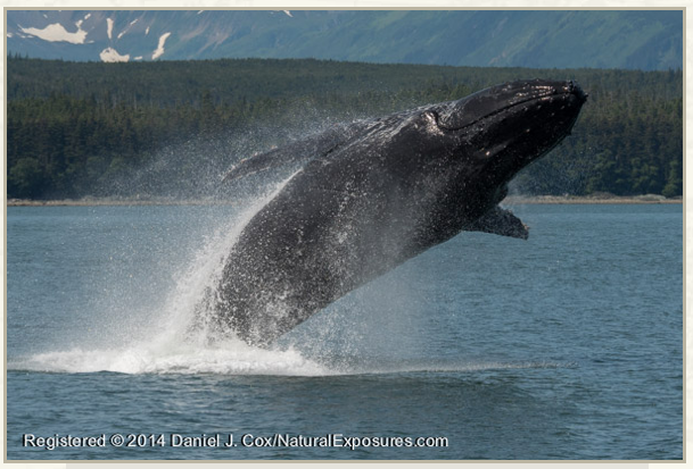
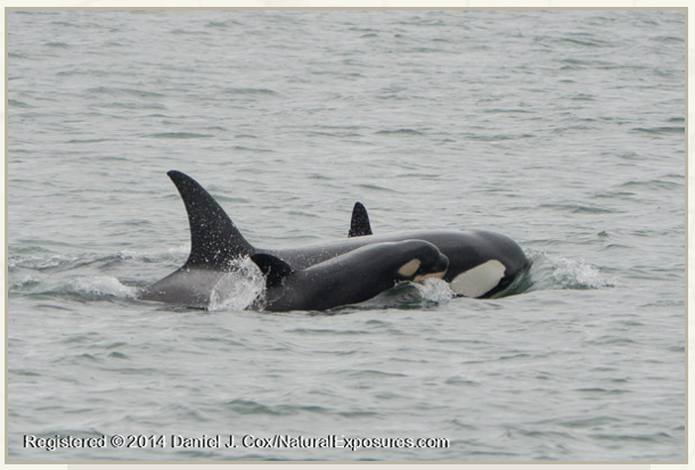
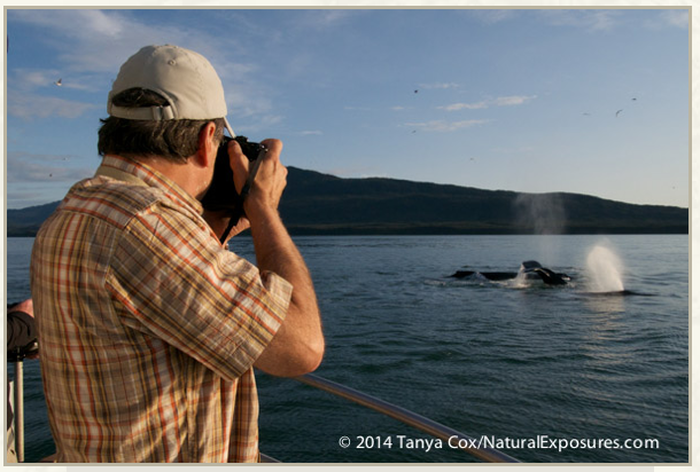
As a portrait lens it's certainly not cheap, but you get what you pay for and the results are amazing. I've been trying it for some other subjects too, but that's for another post. 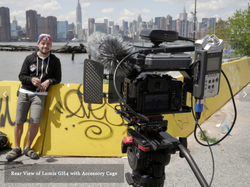 Dave's Setup Dave's Setup A couple of weeks agoI ran a post with the teaser to Dave Surber's incredible new project, "Big City Hustle". The teaser was a big hit and now you've got a chance to really check out Dave's skill set as a photographer, filmmaker and most fun of all, storyteller. As an accomplished street photographer every one of Dave's images have always told a story, but now, with Panasonic's LUMIX GH4 in his hands, he's bringing even more to the party. This is a site you need to follow. As an artist, pay attention to the way Dave tells the story. There's a solid educational value in paying attention to Dave's technique and attention to detail following the story line. However, I'm loving these short films just for their entertainment value alone and can't wait to see where Dave shows up next! Follow Big City Hustle and definitely check out the Behind the Scenes! Intro by Skip Cohen Although I've worked with almost all of the Luminaries, Dan Cox was in Alaska during our last Luminary meeting and couldn't be there with us. He's one of the newest members of this remarkable team. Nevertheless, he sent me the link to an outstanding post he's been writing, The LUMIX Diaries. As I read through what he's been writing about, I found myself living vicariously through his images and the daily descriptions of his trip. This is just an excerpt from one day, but it's got some great suggestions to help so many of us raise the bar on our images. Dan's complete series is just a click away and well worth taking the time to read! Dan is definitely somebody who should be on your radar. Check out his website at NaturalExposures.com. It's your link to everything he's working on, workshops, projects and his team. Our first week out we headed south of Juneau. We were cruising to the same area I had visited numerous times throughout the 90s and it had always been productive. While traveling the inner waterways we began to see numerous individuals. Separate whales are easy to find but we were hoping to see the group that is known to practice a behavior described as bubble net feeding. Bubble net feeding is a cooperative effort between as many as 12-18 whales where they corral a ball of herring by circling them and blowing bubbles to produce a visual barrier that the herring won’t penetrate. The humpbacks start deep, spiraling upwards in unison, establishing a 40 foot circle, exhaling in large bursts creating their ring of bubbles that confuse the herring. At the end of the spiral, just below the ocean’s surface, their mouths open wide as they thrust themselves up, breaching the water’s surfaces, swallowing as many confused and bewildered herring as they can gulp down. All of this happens at the same time so the show is hard to believe, a dozen or more whales coming to the surface in mass, bellowing, honking, and blowing air through their pipes that sound like fog horns. It is impressive to say the least. This is the show we were looking for but unfortunately during our first week it never happened. When photographing Humpback Whales there are three things a photographer is hoping to see. The first and most uncommon is bubble net feeding, the second is breaching, and the third is best described as whale tails. Whale tails is where a humpback makes a deep dive, and their huge tail thrusts towards the sky as the rest of their hug body dives into the abyss. They don’t do this every time they go beneath the surface, but it does happen quite regularly and it can be beautiful to watch as the water comes streaming off their airplane like winged appendage. We shoot lots of whales tail our first week. There were a few opportunities with a small group of Orcas, and we saw a wonderful group of sea otters and Stellar Sea Lions hauled out on beaches, a few Harbor Seals, some Bald Eagles and lots beautiful scenery. For the whale trips I brought all the cameras I had in Barrow, but the Nikons saw little action. My GH4’s with the 100-300mm zoom were a perfect tool for capturing the varied wildlife we were seeing. Zooms can’t be beat when on a boat, in a blind, a vehicle, or any other situation where you just can’t move forward or move backward. I’ve been using zooms almost exclusively since 1987 and they’ve produced well over a million images that I’ve earned a living from over my 30 years as a photographer. Technical Details I came to appreciate another superb feature the GH4 has. That is its ability to shoot 12 frames per second when it’s not in AFC mode. Here’s how I used it. First I set the camera’s Burst Mode to high via menu system, which changes the maximum frame rate to 12 FPS. Next, I switched the Focus Mode Lever to AFS/AFF. The lever needs to be set in this position to be able to shoot at 12fps. AFS/AFF puts the camera in Single AF mode which means it won’t try to focus while the camera is firing at the high frame rate. I would focus on the tail as the whale began to dive, let up on the back AF button, hit the shutter button, and let the camera fire at its optimum 12fps. Having so many frames to choose from is a major benefit when water droplets and running water come pouring off the tail. As I write this I realize I should explain the Back Button AF on the GH4. Quite simply, the idea is to take the AF activation off the front shutter button and move it to the button on the back of the GH4 labeled AF/AE Lock. This is generally a superior way to focus the camera and it’s an option on all Nikon and most Canons. Canon invented the idea, Nikon perfected it, and now we have it in the Lumix system as well. Just another small but important detail that proves the GH4 is target towards serious photographers. The idea for Back Button AF is to activate focus by pushing the AF/AE Lock button. This is a Custom Settings option you need to initiate. The first thing you want to do is open the Custom Settings menu. Next, navigate to the 1/9 screen and at the bottom of that screen is the option Shutter AF/On. You want to turn this OFF. Now look two options above the Shutter AF/Off and you will see AF/AE set to AF/AE Lock position. Open this menu option and select the fourth/last option at the bottom, AF/On. You now have removed AF from the shutter button and moved it to the back AF/AE Lock button. To activate focus you simply push the AF/AE Lock button and the camera focuses. Let up and it locks focus.
How this now works is hard to explain but I’m going to give it a shot. The idea behind this customization is to remove AF from the same button you fire the camera with. This allows for better composition, allowing you to focus on a specific part of the image, by placing the AF sensor where you want critical focus. It’s also generally best to use a single AF sensor point with this procedure. Here are the exact steps in a fast moving situation. First, select the AF sensor you want to use in your camera’s viewfinder. Next, point that AF sensor at your subject and push the AF/AE Lock button to initiate focus. When the focus locks on, release the AF/AE Lock button. Now, recompose the image by moving the the camera to place your subject in whatever part of the frame you choose. Finally, press the shutter release button to take the picture. Back Button AF is often much faster than moving the AF sensor around to the exact point where you want critical focus, at least it was with my Nikons. The GH4 is a bit of a different story since it has the ability to move the AF sensor anywhere in the frame. The Touch LCD allows you to move the AF spot with the camera to your eye by touching your thumb to the back LCD and moving the AF point. Even so, I still use the Back Button AF nearly 100% of the time. It’s by far the most efficient way to focus a camera if your concerned about composition. It’s often much quicker than the commonly known procedure of holding the front shutter button half way down to lock AF, recomposing and shooting. |
AuthorsWelcome to Luminary Corner. Besides being a recognized member of the professional photographic community, each post author is a member of Panasonic's LUMIX Luminary team. Archives
November 2017
|
© 2019 Skip Cohen University

