|
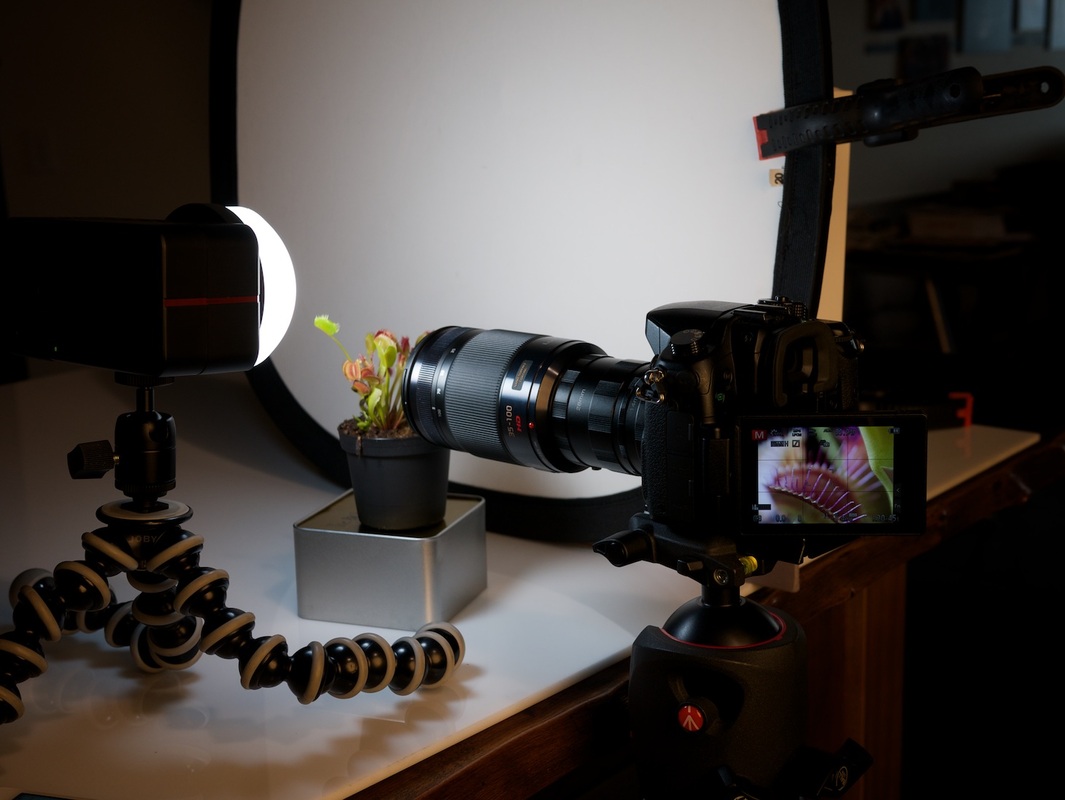
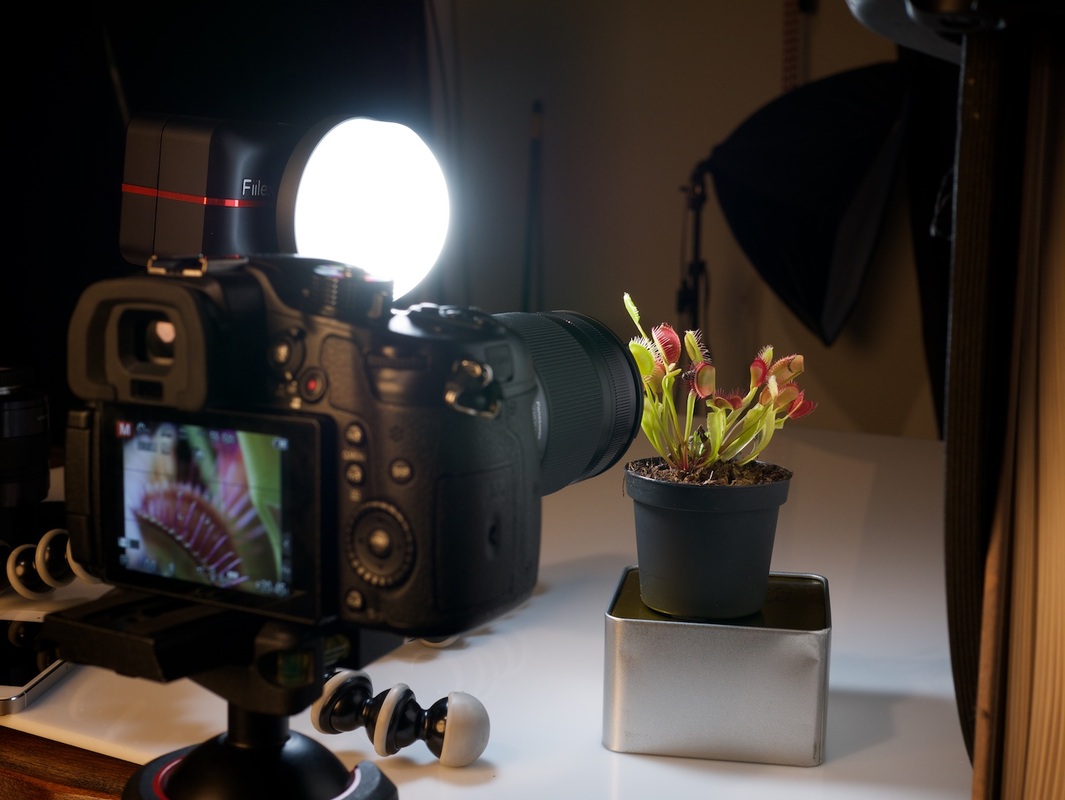
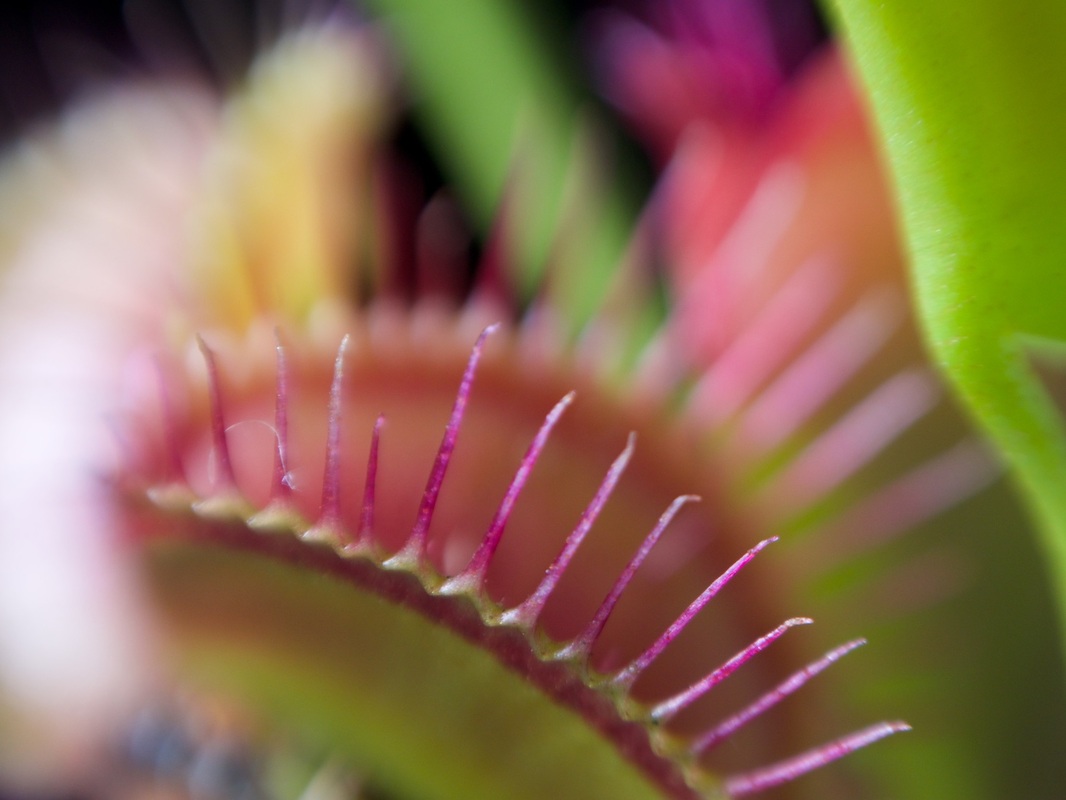
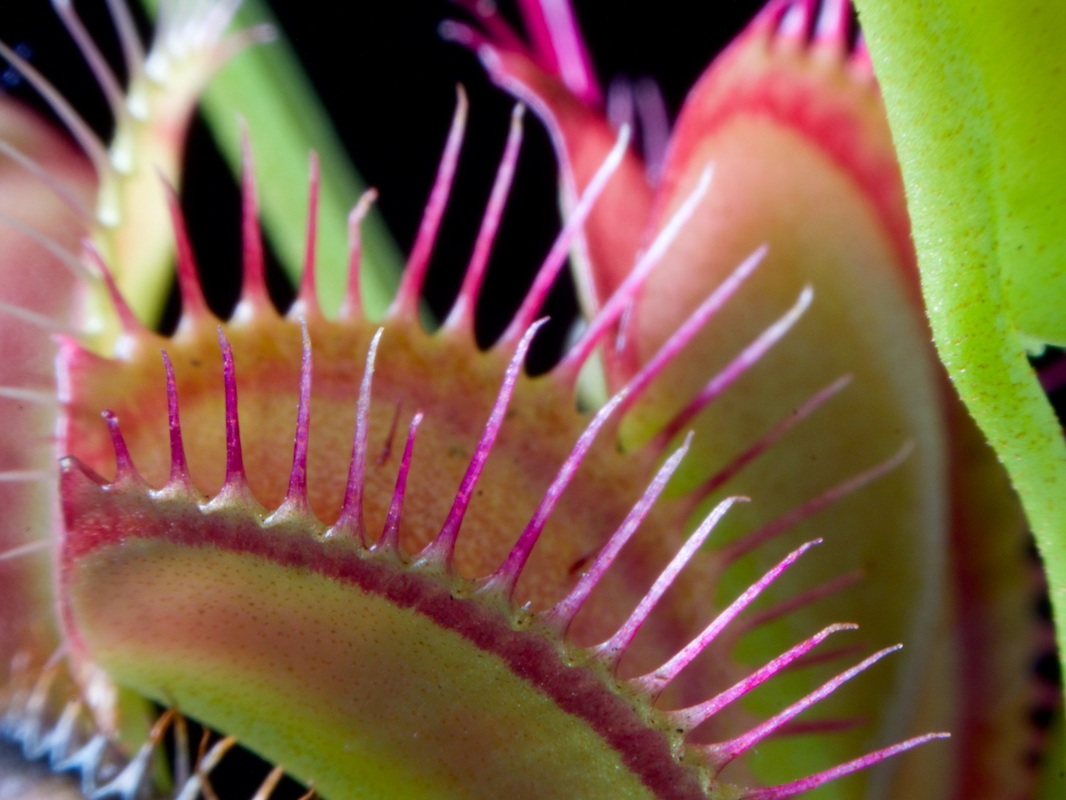
Intro by Skip Cohen Over and over again I've talked about the diversity of Panasonic's LUMIX Luminaries. They're a remarkable group and today's post is a prime example of Joseph Linaschke's love for the craft along with his abilities as an outstanding educator. For more tips on shooting macro and close-up photography, be sure to check out Joseph's lynda.com training “Photography 101: Shooting Macros and Close-Ups” . If you’re not already a lynda subscriber, you can watch his course FREE for seven days. Joseph should be on your radar. Check out his website, his blog and follow him on twitter. You'll also find more of his work along with the other Luminaries in the LUMIX Luminary Lounge. by Joseph Linaschke Everyone loves macro photography. After all, what's not to love? You get to see a whole different world that, as it turns out, lives right under your very nose! Flower, bugs, textures… the sky (or, the ground) is the limit. And in many cases, when you get really close, you'll see things you may never have known existed before! Macro photography can become an expensive hobby, however. Good macro lenses usually start around $500, and go up from there. If macro is something you just want to dabble in, that's a lot of cash for a lens that may sit in your bag the majority of the time. Fortunately there's a shortcut into this world, using something called Extension Tubes. An extension tube looks like a lens, but has no glass in it, and all it does is put some extra distance between any of your existing lenses and your camera's sensor. As it turns out, the farther your lens is from the sensor, the closer that lens can focus on a subject. And the best part is, extension tubes are very, very cheap! I bought a set of three “dumb” Fotodiox tubes (which can be stacked into various lengths) for only $16 on amazon for my Panasonic LUMIX cameras. (You can also buy extension tubes that maintain all focus and exposure control… for 5x as much money. Even though that’s still well under $100, if you want to go really cheap, read on. If you don’t mind spending the money, read my fellow Luminary Bob Coates’ article, also on this site, on using those higher end extension tubes However if you're using a LUMIX, or almost any modern mirrorless camera, you'll find a unique technical challenge with these cheaper tubes, which takes a little back story to understand. Depth of field (how much is in focus at once) is controlled by your lens aperture; the more it's open (a smaller f-number), the shallower your depth of field. In macro photography, you usually want to "stop down" your lens at least half-way so you can get a bit more in focus at once (we could be talking mere millimeters here). Traditional lenses have a mechanical ring on them that when turned, physically closes and opens the aperture, changing our depth of field. Some modern cameras however employ a "drive by wire" solution, where the aperture is electronically opened and closed, not mechanically. This is fine when shooting normally; you'd never know the difference. But when that lens is not electronically connected to the camera — as it isn't when using extension tubes which are essentially dumb, light-tight tubes — you no longer have aperture control. The default position is wide open, meaning you have minimal depth of field. With an extension tube in place, this can be so incredibly shallow that it becomes difficult or even impossible to get sharply focused photos. Fortunately, there's an easy work-around. Here's how you trick your lens aperture into a partially closed position. I have tested this on Panasonic LUMIX, Olympus, Sony and Fuji mirrorless cameras. 1. With your lens on the camera normally, put the camera in manual exposure mode. 2. Set the aperture you want (let's say f/11) and a shutter speed of at least a few seconds. Press the shutter button. 3. The shutter will open and the lens will stop down. Now's your chance. Before the exposure ends, and without turning the camera off, remove the lens. The camera will immediately close the shutter, but since it lost the connection to the lens, the lens will stay stopped down! 4. Put your lens, that's now locked into f/11 (or whatever you chose) onto your extension tubes, and shoot away. To change the aperture, you'll need to put the lens back on the camera normally (at which point the aperture will immediately open back up), and repeat the process at another f-number. While this is clearly an inconvenience, it works, and allows you to use those inexpensive extension tubes to make a jump into macro photography, no matter what kind of camera you use. Images copyright Joseph Linaschke. All rights reserved.
1 Comment
|
AuthorsWelcome to Luminary Corner. Besides being a recognized member of the professional photographic community, each post author is a member of Panasonic's LUMIX Luminary team. Archives
November 2017
|
© 2019 Skip Cohen University

