|
Intro by Skip Cohen Bob Coates is no stranger to SCU and Luminary Corner. In fact, he's become one of our most published guest post authors and it's always with strong helpful content. In this new post he's sharing some great images and suggestions to help you get into infrared photography, which is simply a kick to add to your skill set and expand your creative technique. Bob's also a Panasonic Luminary and all of the images below were captured with a converted LUMIX G6 camera. You'll find more of Bob's work on his blog, and in the link he shared below about infrared. And, if you're interested in checking out the rest of the Luminary team, you'll find some incredibly talented and diverse artists in the Lumix Lounge. It's just a click away.  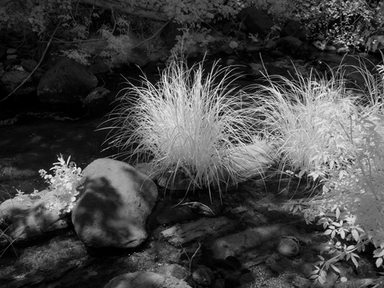 by Bob Coates Conversion to infrared is a great way to expand your photography options throughout the day. Bright sunlight is not exactly prime time for wonderful images with visible light as the contrast can block up shadows and you end up with "blah" everyday images. Infrared and bright sun mixed with some clouds and green lawns, trees and water you end up with a recipe for striking photography! One way to put some older gear to use is to convert your camera to infrared. In the days of film cameras you had to buy extremely light sensitive film that was easy to fog if it was exposed to the least bit of stray light. And a filter had to be added to the front of your lens that made it almost impossible to see well enough to focus. And then, you had to back off the focus just a bit to make up for the fact you were exposing for a different light spectrum. Oh, and all that PIA stuff you had to go through in the film days? Done. Over. Finished. Once you have your camera converted to infrared you can see your focus right on the back of the camera with no fuss, no muss. If you set your camera to show you black and white you’ll get a pretty close approximation of what the final photo will look like. There will be some post processing with your files to finish them off, but that can be a fun time exploring the possibilities. I used LifePixel for the conversion of my Lumix G6 camera. Just click here for some links to blog posts on infrared post-processing with which I’ve been experimenting. Lots of creative options there! Yours in Creative Photography, Bob  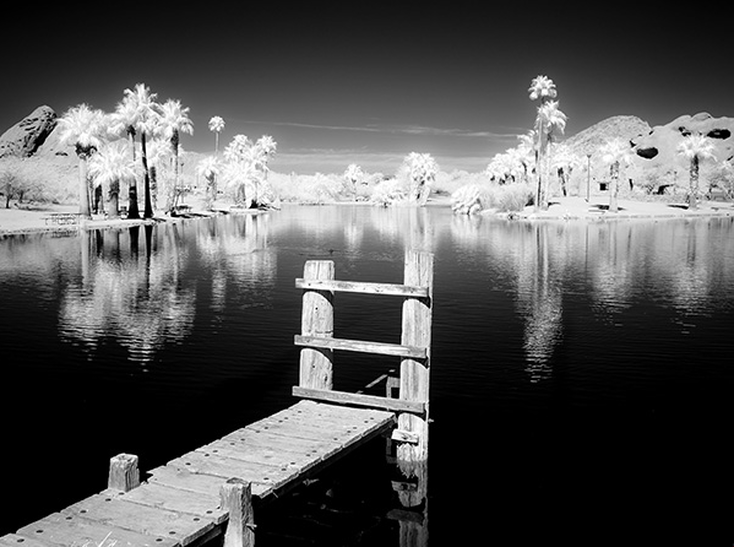 Images copyright Bob Coates. All rights reserved.
0 Comments
Your comment will be posted after it is approved.
Leave a Reply. |
© 2019 Skip Cohen University