|
With permission from Photodex, I'm delighted to share this post on night photography with tips from Roman M. Kurywczak. Most of what's usually posted here on the SCU site is business and marketing, but if your skill set isn't top shelf, all the marketing in the world won't help you go beyond a few initial clients. Shooting the night sky is a little out there for a lot of you, but this is about expanding your skill set. Roman's done an outstanding job in taking you through the basics and the video he closes with brings it all together. A big thanks to Amanda and the team at Photodex for their never-ending support of education! 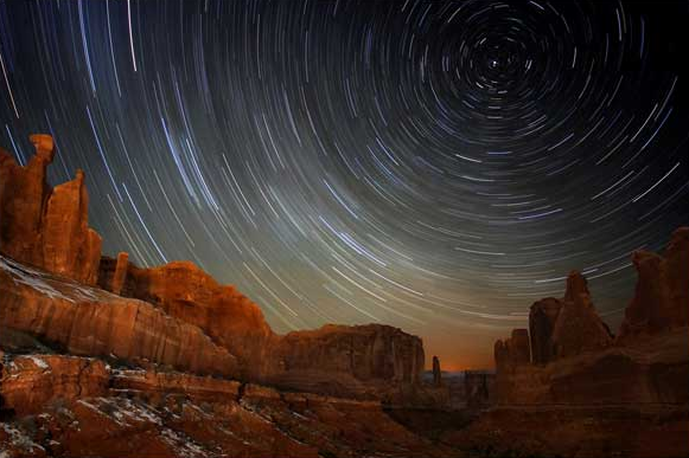 This post, from the Photodex archives, comes from photographer Roman M. Kurywczak. He shares his top tips and tricks for shooting great night photography. I have been fascinated by the night sky since I was a child. Living in NJ I really wasn’t able to see that many stars because of all the light pollution. My parents had a place in the Catskills and I spent my childhood summers there with my brothers and extended family. That is where I first gazed at a star filled sky and marveled at its wonder. Once I took up photography, I made it my goal to try and capture that beauty on film. I had decent success with star trail photography but wasn’t able to capture the Milky Way or star filled sky like I had always dreamed. That all changed when I got my first digital camera from Hunt’s Photo and Video in December of 2008; the Canon 1D Mark lll. Gear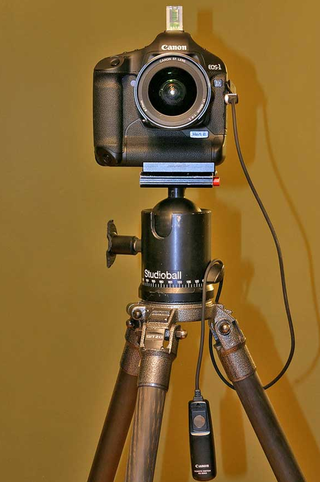 All the gear you need to get you started photographing the night sky is some basic equipment you probably already own! A digital SLR body with high ISO capabilities, a very sturdy tripod and ball head, a wide angle lens in the focal range of 10-22mm (depending on crop factor) and a cable release. Your night exposures will vary from 25-30 seconds for star images with the long star trail exposures ranging from an hour or even longer. A shaky tripod will be devastating to the final image during these long exposures so a rock solid tripod is a must. A cable release capable of being locked open for at least an hour and a bubble level for the hot shoe is also a great tool to have as this will allow you to level the camera much quicker when working at night. Exposure I like to use my lenses wide open or close to it. For the Canon 17-40mm lens I use it exclusively at f/4 or f4.5. If you have a wide angle lens that is 2.0 or 2.8 then by all means use it as the additional stop of light may allow you to drop your ISO! I use ISO 6400 for all the star point images and an ISO from 100-200 on my star trail images. You can use this formula for determining your exposures times for star point images; focal length times shutter speed = 500. So with my lens at 17mm that would come to; 17 x 30seconds = 510…..which is close enough. If you used a 50mm lens the formula would be; 50 x 10 seconds = 500. The stars won’t be that bright as you have lost 2 stops of light so that is why I recommend using a wide angle lens. For star trails, keep the f-stop the same but drop your ISO to 100-200 and set the camera on bulb. I like to point north to achieve circular star trail patterns and keep the shutter locked open for an hour or more!  Other Important Considerations Light pollution plays a big role in the success of your night images. It is always an issue here in NJ, so you have to travel away from the city lights to get your best results. In the image of Delicate Arch below, that is the city lights of Moab you see on the horizon and not the moon! 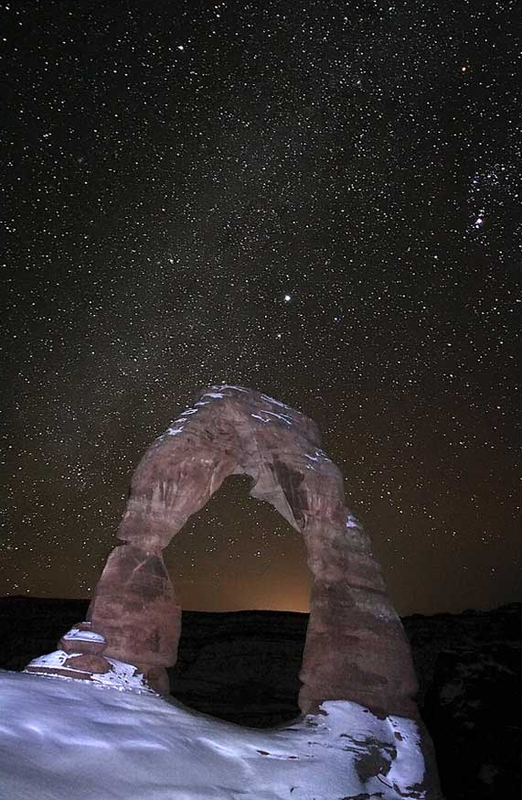 Sometimes, it is nearly impossible to avoid light pollution. In the image below, the barn was located very close to a street lamp. I had to cover part of the lens during the exposure to balance the exposure of the sky with the foreground. The red glow on the horizon is light pollution from the town of Lake Placid. 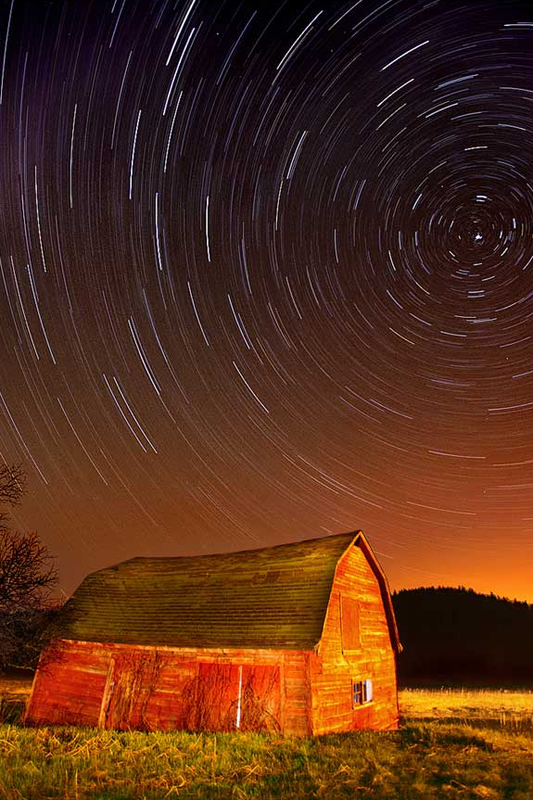 Some Final Thoughts The thing that I enjoy about night photography the most is the solitude and lack of crowds! You can hear all the sights and sounds of nature without the hustle and bustle of the crowds of people you find at iconic locations during the day. It also allows you to capture a different take of those natural icons. In the image below of the Virgin River and the Watchman, the crowds are often unbearable at most times of the day. I was all alone with my group the night I captured it. 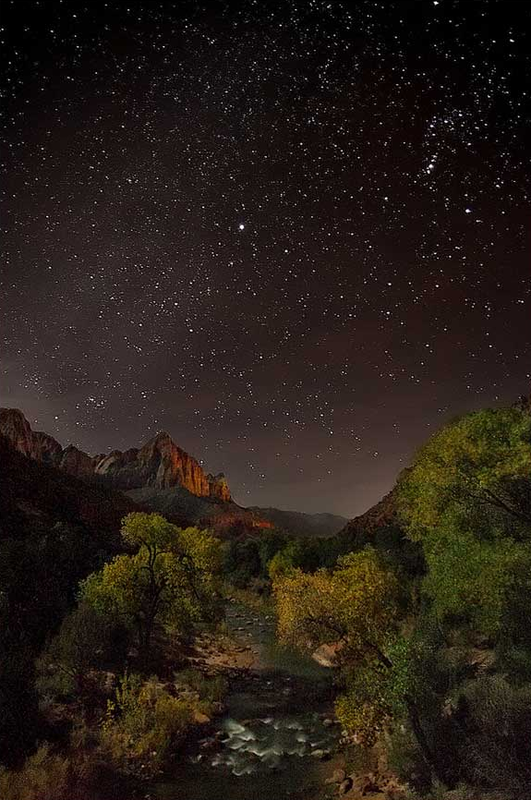 Many times, just a few hours can make a big difference. I arrived around midnight at “Old Faithful” only to find about 2 dozen people on the boardwalk flashing the eruption with their phones and point and shoot cameras! I went out for a while to some other locations in the park and came back at 2am to find that I was the only one there! 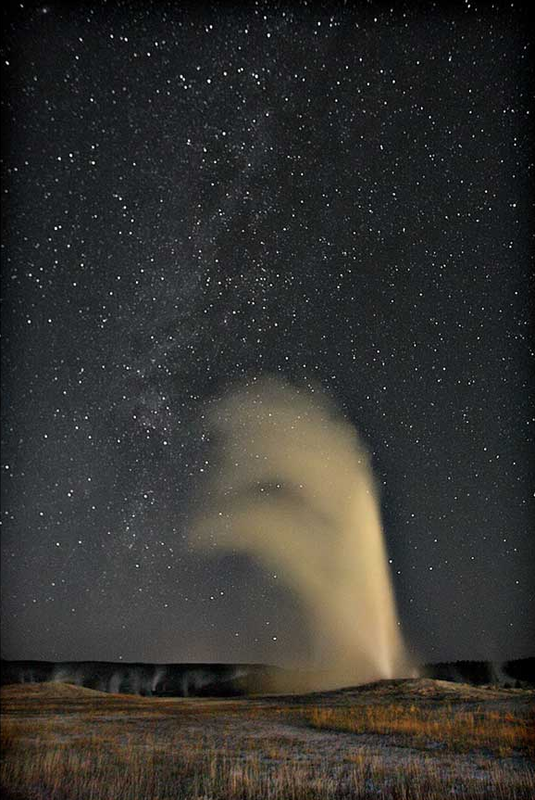 One way to avoid the crowds is to travel to a location in the off season months of winter. I time many of my trips when visitation to the park is at its lowest. While it may be cold, the added benefit is that the cold helps keep the sensor from overheating and generating noise. Night photography opens up a whole new world to us and gives us a chance to capture a unique take of some often photographed locations. It provides us with a glimpse of what the parks were once like, without the crowds and noise. Extra care should be taken when venturing out at night as the possibility of an accident greatly increases but in my opinion, the rewards are well worth it. To see more of my work or to purchase my night photography e-book please visit my website at: www.roaminwithroman.com and stop by my blog to check out my updated tour schedule, newest images, gear reviews, and more at: http://roaminwithroman.wordpress.com/ -Roman Watch this video featuring a collection of Roman’s night photography >> All images copyright Roman Kurywczak. All rights reserved.
0 Comments
Your comment will be posted after it is approved.
Leave a Reply. |
Archives
November 2016
|
 RSS Feed
© 2019 Skip Cohen University